
Making A Box For My EDC

I am making this box for a challenge set down my another woodworker Sean Evelegh. I will put a link at the Botton so you can go and see what Sean made. I decided to make a box to store my EDC ( every day carry ) this is just a posh term for the junk that is in my pockets.


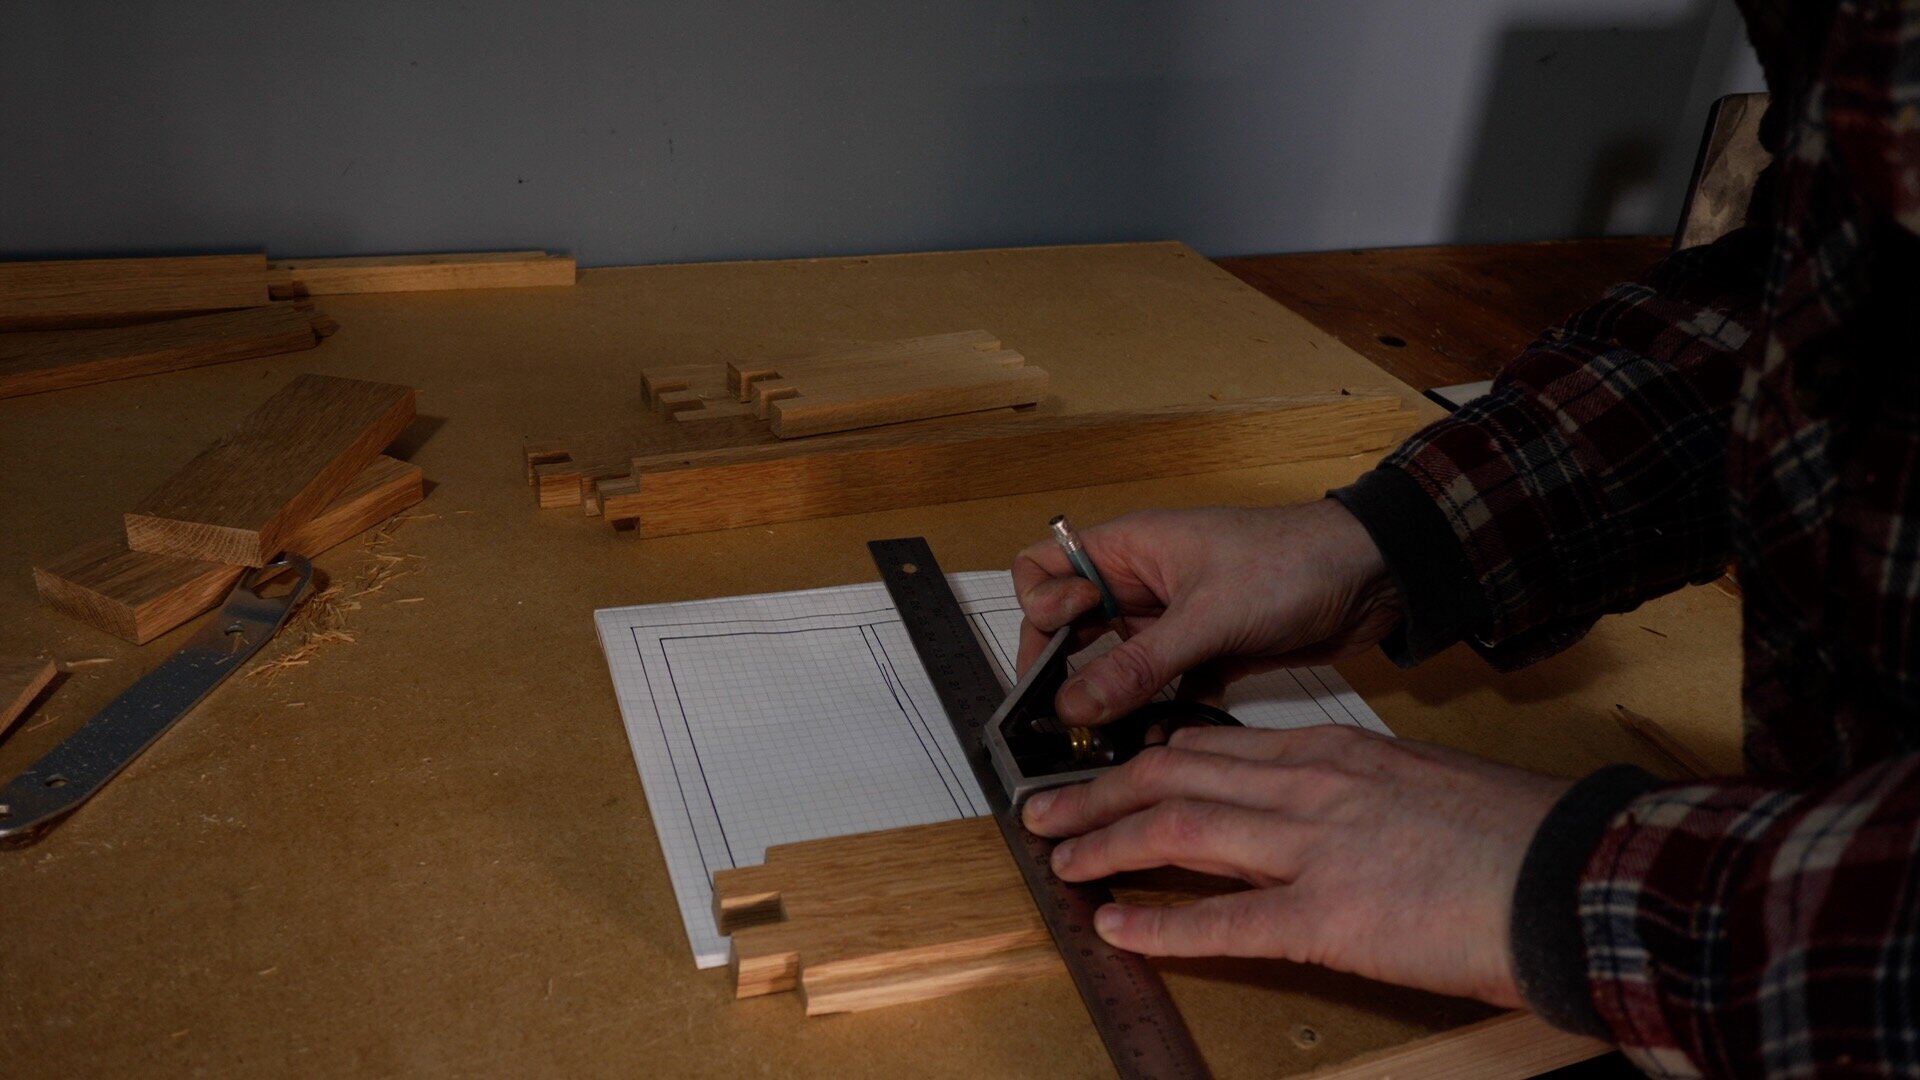
I stated my laying out my items and drawing a plan so I knew how big I needed the box to be. I raided my scrap bin a dug out some bits of oak that I had squirrelled away for small projects. All the bits were different thickness to I cut them down on the table saw and ran them through the thicknesser.


I could now cut the four sides of the box to size using the table saw and mitre saw. In my design the front and back are going to be lover thank the side pieces and you will see why later on.
To join the box together I setup my router jig to cut box joints and routed them out. I have this jig so that’s what I used but there are many other ways the box could go together from the simple but joint to handout dovetails.

I wanted the box the have a rebate to accept a panel for the bottom. I swapped out the blade in the table saw to a flat toothed grooving blade and set the hight of it a the panel I was going to use as the base. I could then cut a rebate into the front and back pieces of the box.


As I had the saw set up to cut grooves I marked out where the slots needed to go for the internal dividers, using the plans I drew for reference. I could then use the mitre gauge on my table saw to run the pieces through the blade and cut the slots for the dividers. The blade I am using is 5mm wide so I only needed to make one pass per slot.


With all the slots cut I could give all the prices a quick sand and then it was time to glue them together. I spread some PVA wood glue out into the joint then the fingers could be slid together and clamped in place.


When the glue had dried I could remove the clamps and measure what size the piece for the bottom needed to be. I cut a piece down to size and installed it using some pin nails.


When I had cut the box joints, I had left the fingers a little long. So I used the bandsaw to trim them down and then sanded them flush with the box.


To make the internal dividers I used some wood that was already 5mm thick so it would fit into the grooves. I cut some pieces down to size and used a mallet to tap them into place. I did not glue them in as they had a nice tight friction fit.


I could now start work on the lid for the box. I found some oak big enough and got it machined down to the correct size.


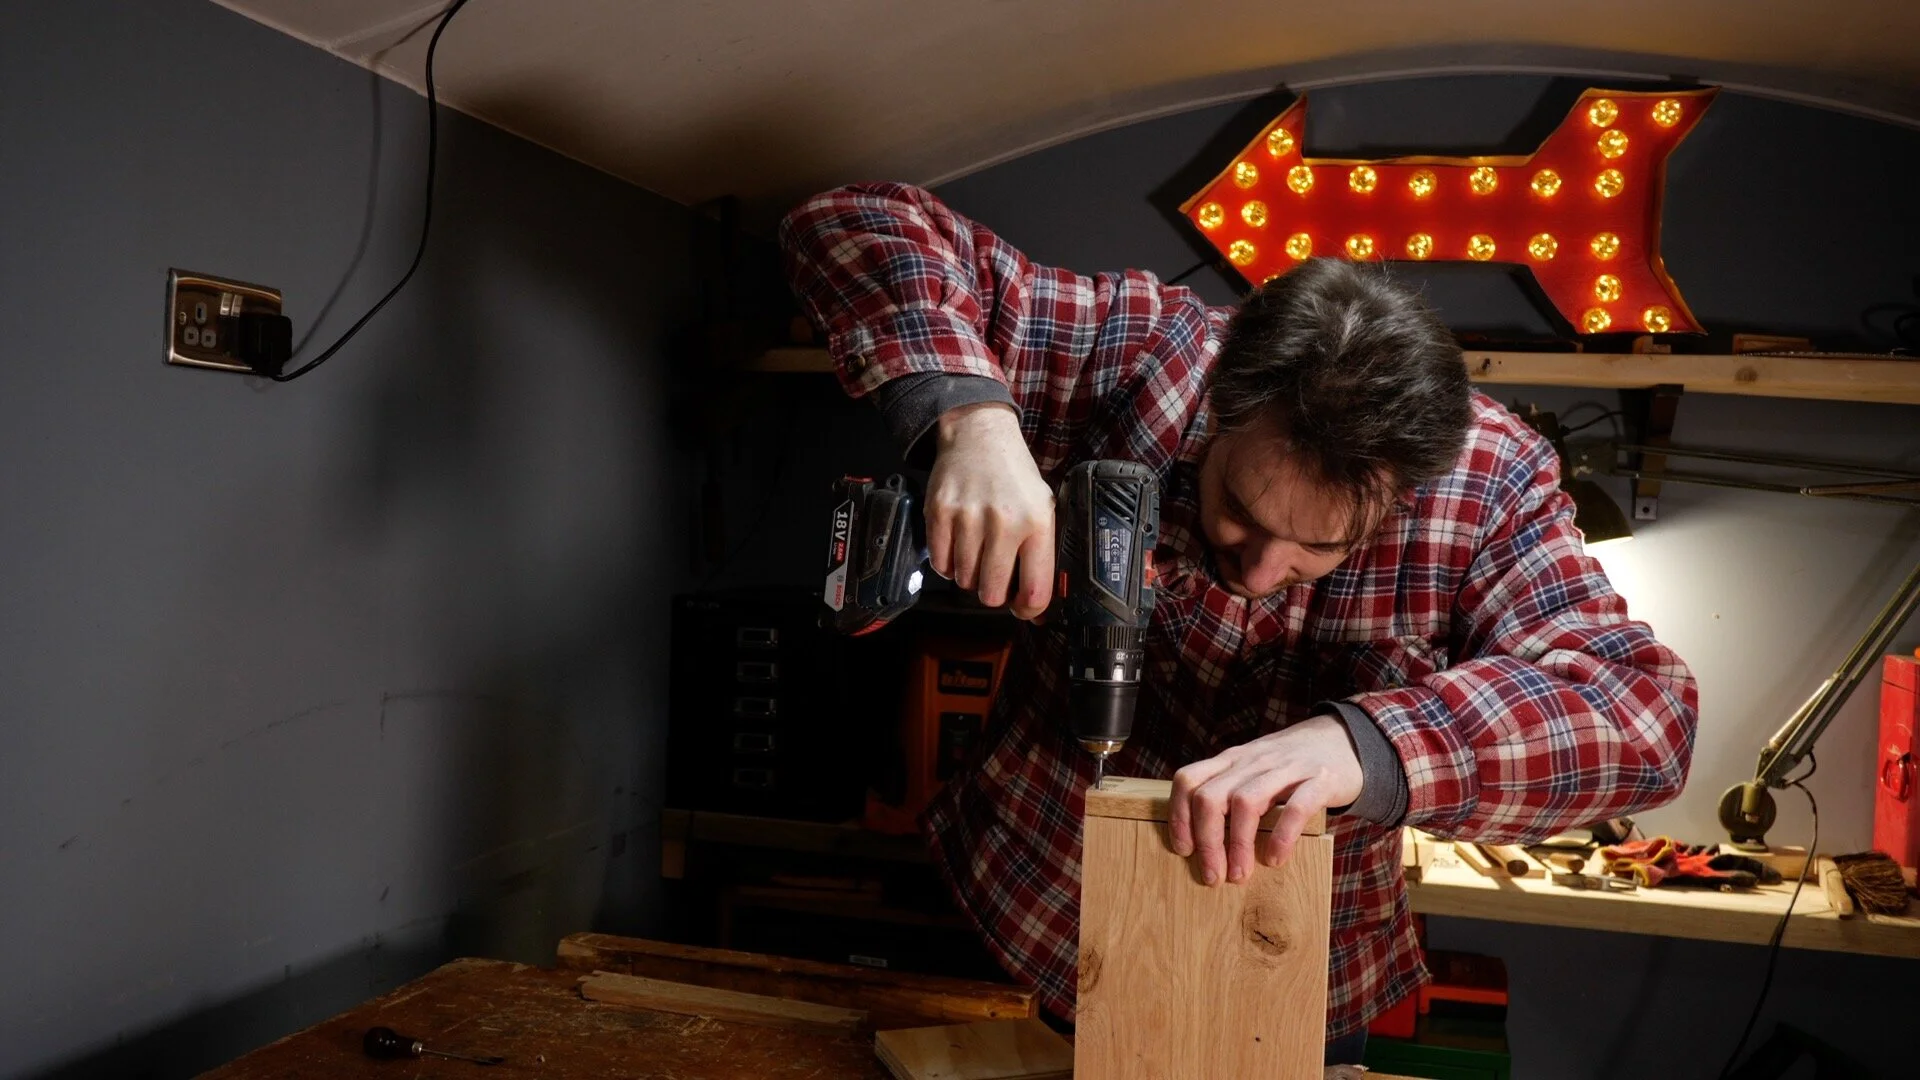
So I said earlier that the sides of the box are higher than the front and back. You can see that here and I marked out the centre on the corner of the higher sides. I could now drill a 5mm hole through the sides and I used a piece of plywood that I had drilled a hole in on the drill press as a guide. I could not fit the lid into place and drill through those holes and done into the lid. Later on I will be installing some brass pins to act as hinges.


n its currant shape the lid would not be able to open and needs the back edge rounded over so it can turn on the hinge. I used a hand plane to round over the back edge and planed a profile on the front edge so I would be able to hook my fingers under it to open the box.

I cut down some 5mm brass round bar and test fitted the lid. I was happy with how it was working so I removed the pins again so that I could add some texture to the lid.


I used a mallet and a small gouge to carve out a random pattern into the lid just to make it a little more interesting.


As I had added the texture to the lid, I really wanted it to stand out from the rest of the box. I decided to stain the box black using India ink and keep the lid natural apart from a coat of Danish oil.


Then the finish had dried I could re-install the brass pins and fill the box up.


I hope you enjoyed this project and for more information please check out the video below.
P.s don’t forget to go see the box Sean made. Thank you