
Shoe Polish Kit

I was having a bit of a spring clean and came across all my bit and pieces for shoe care. I decided they needed to be stored together in a shoe shine kit. I thought I would make one out of an old pallet I had in the garage.
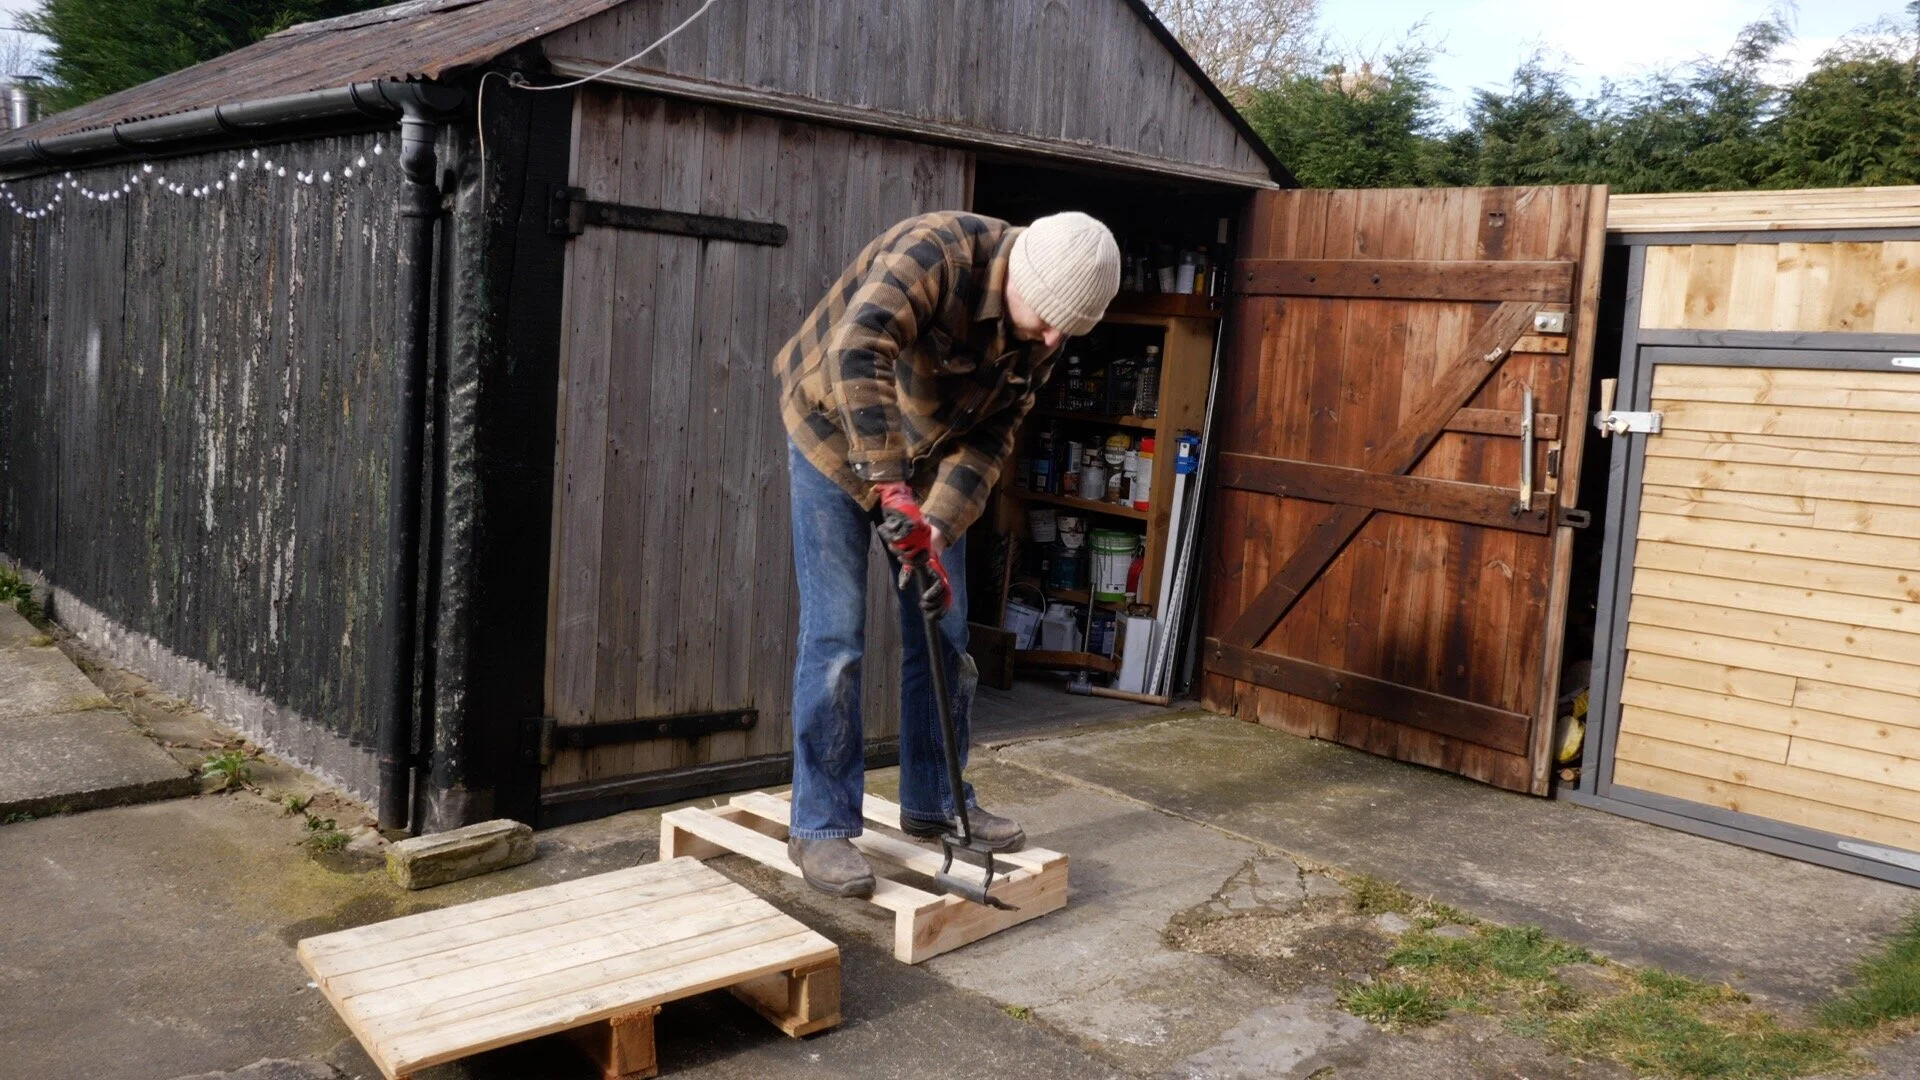
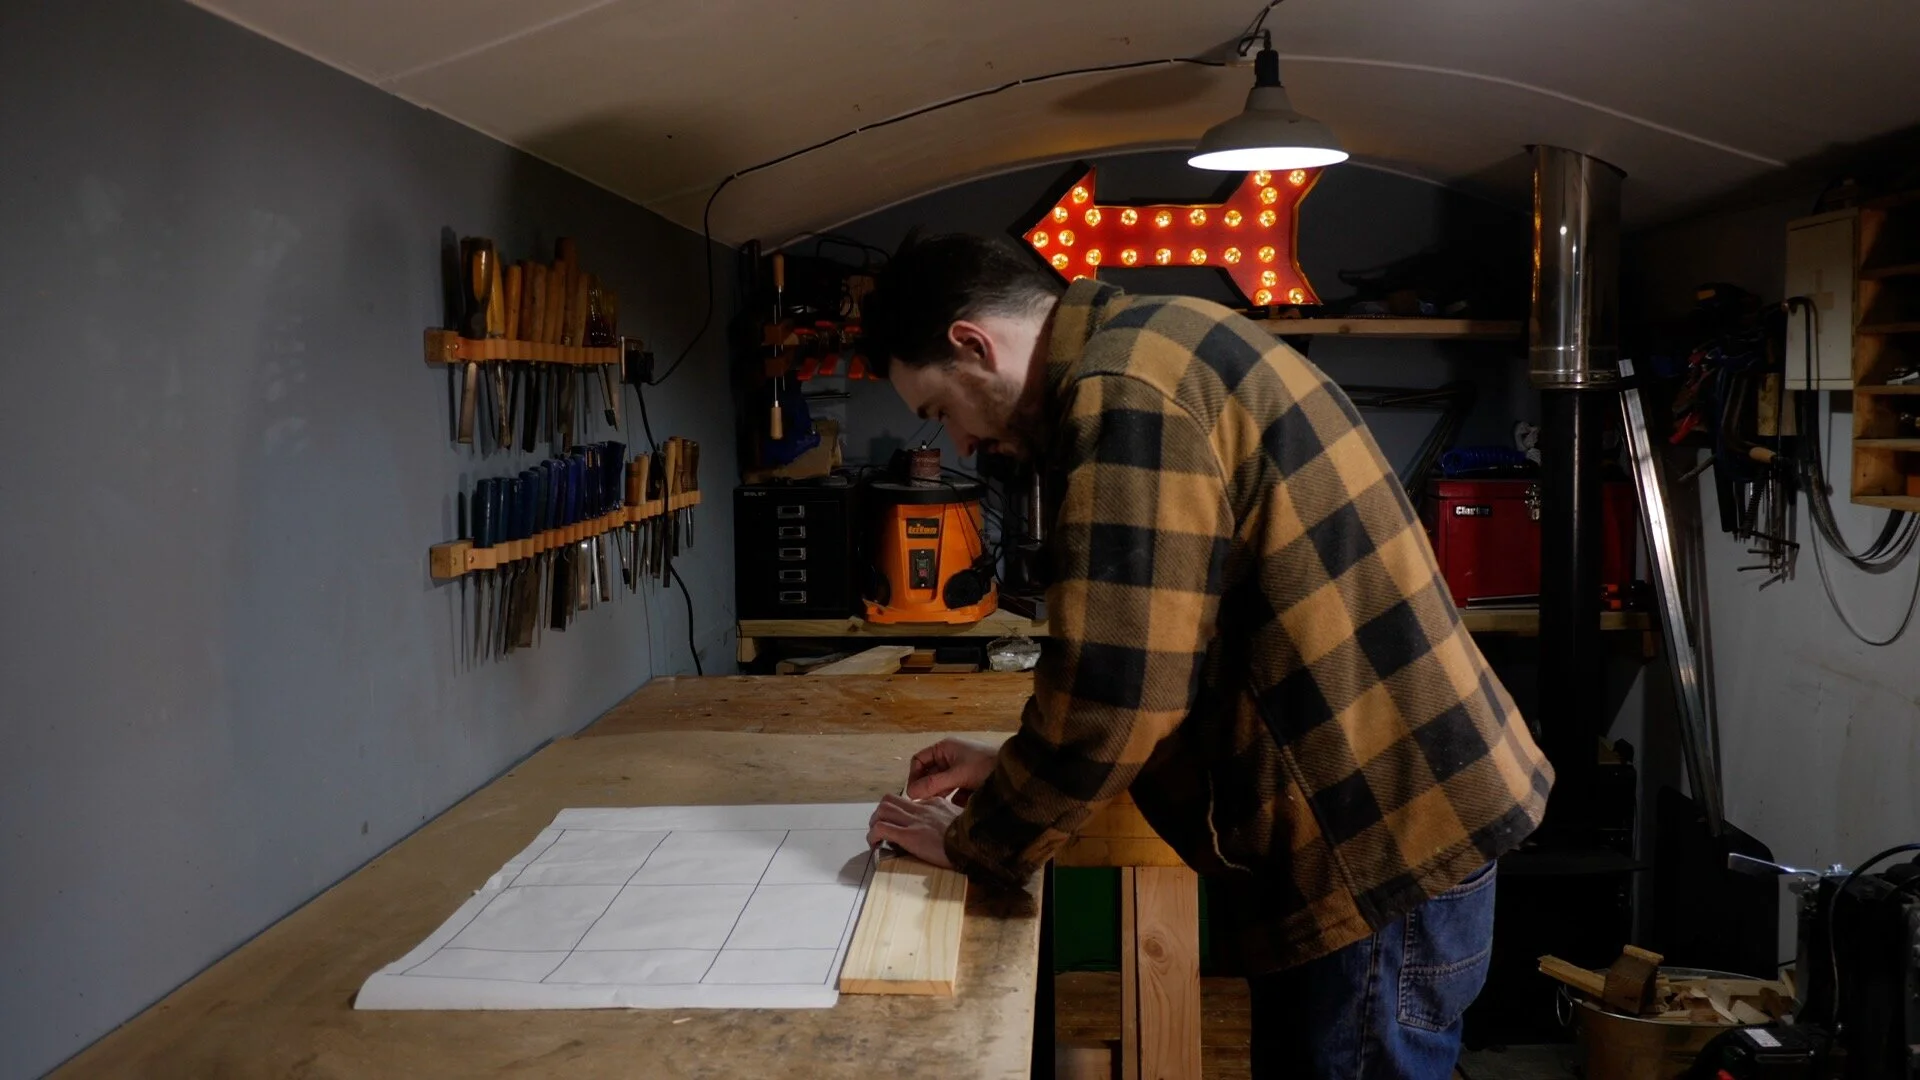
To start I laid out all the bits I wanted to store and drew out a rough plan. With the sketch done I could brake up the pallet. I like to use this braking bar. If you want to look at it then it can be found on my amazon tool page.

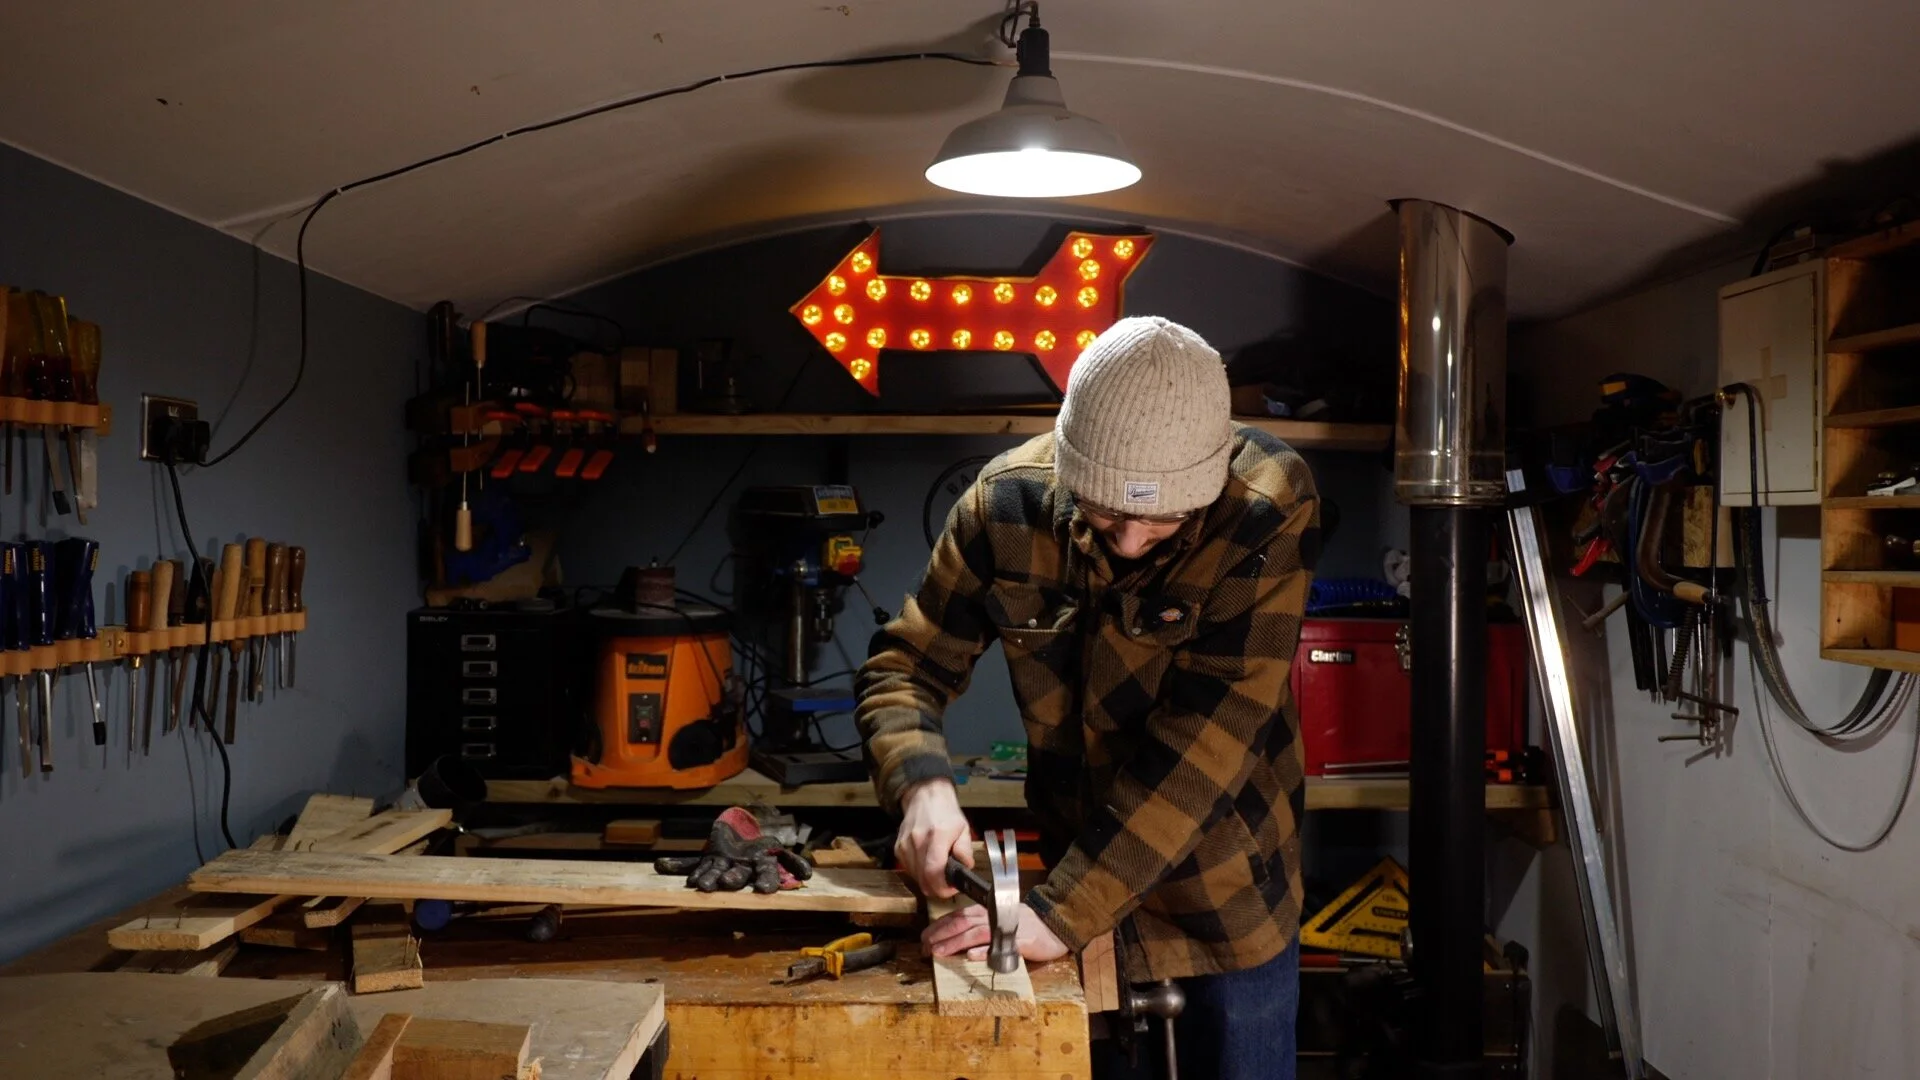
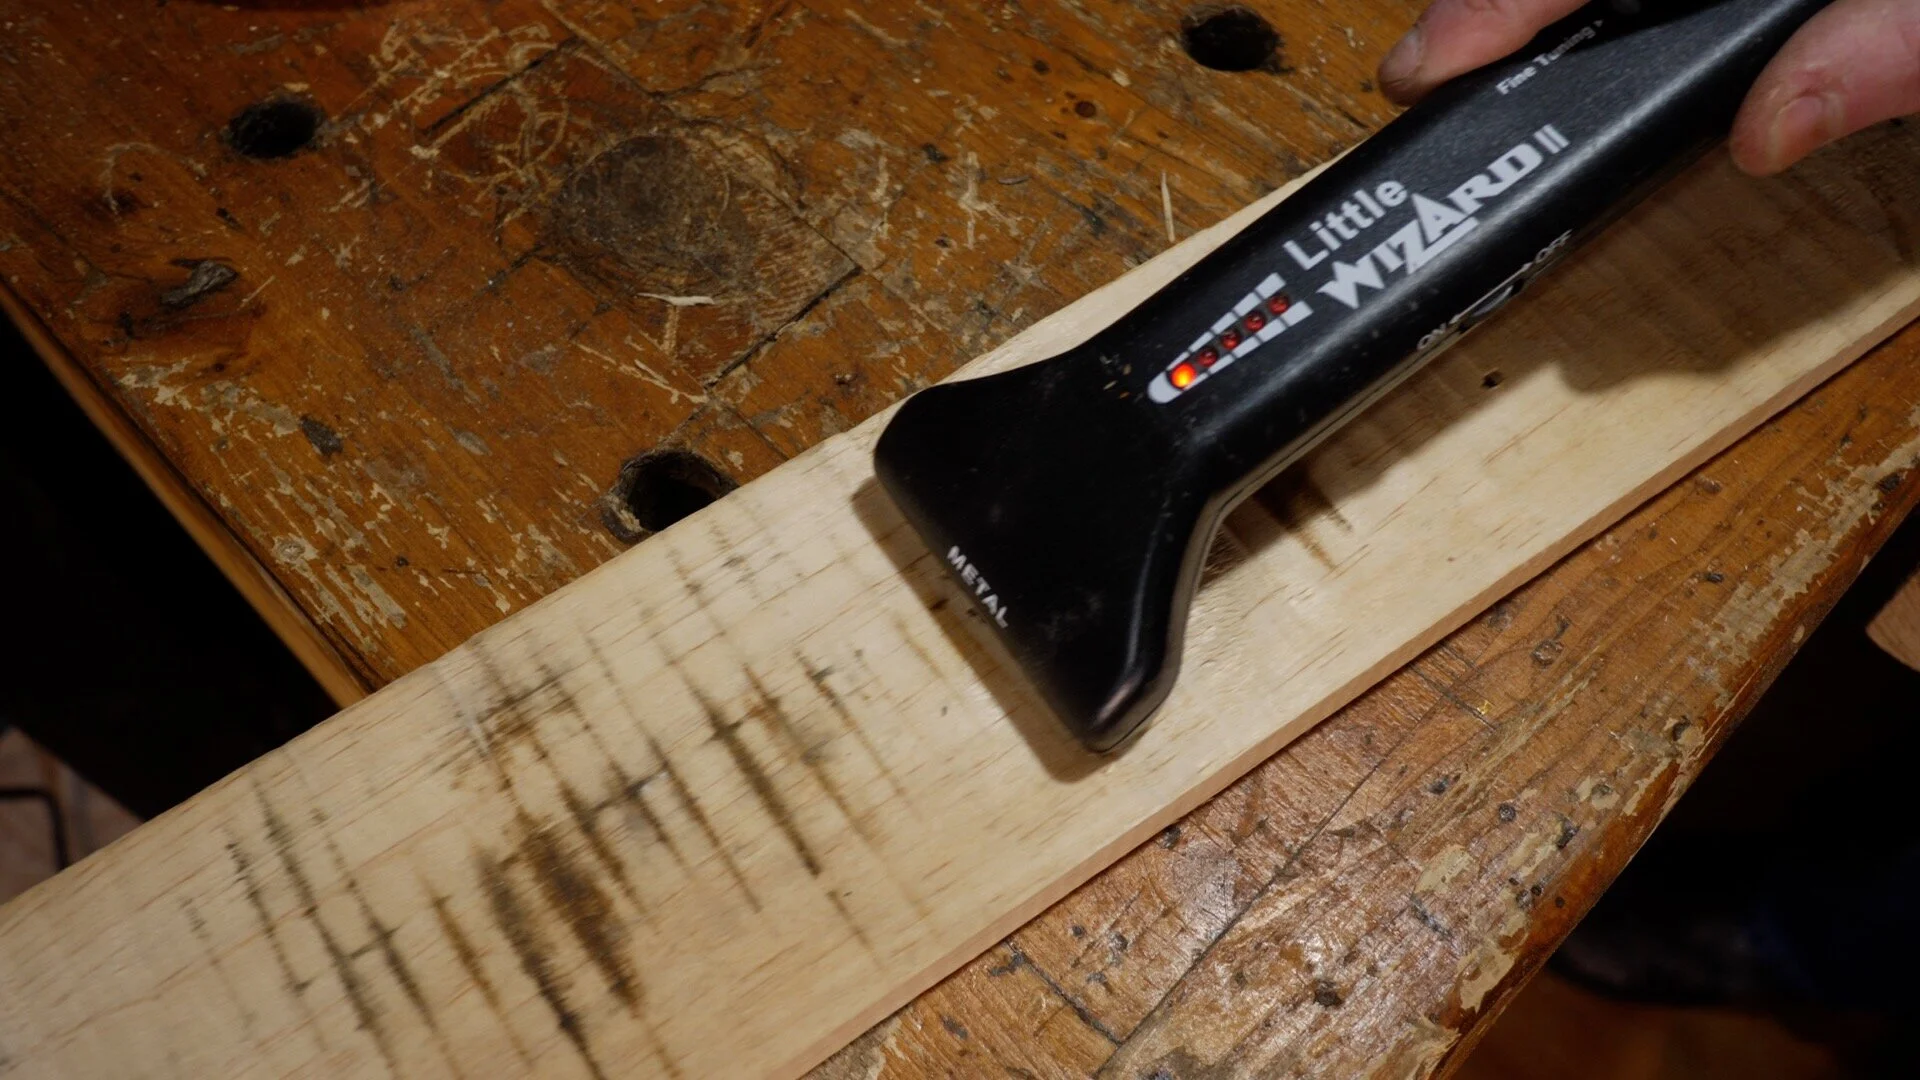
With the slats removed from the pallet, I could take them into the workshop and remove the nails. With all the nails removed that I could see I check over the board with a metal detector and I had missed a few. These I could punch through the wood and pull out.


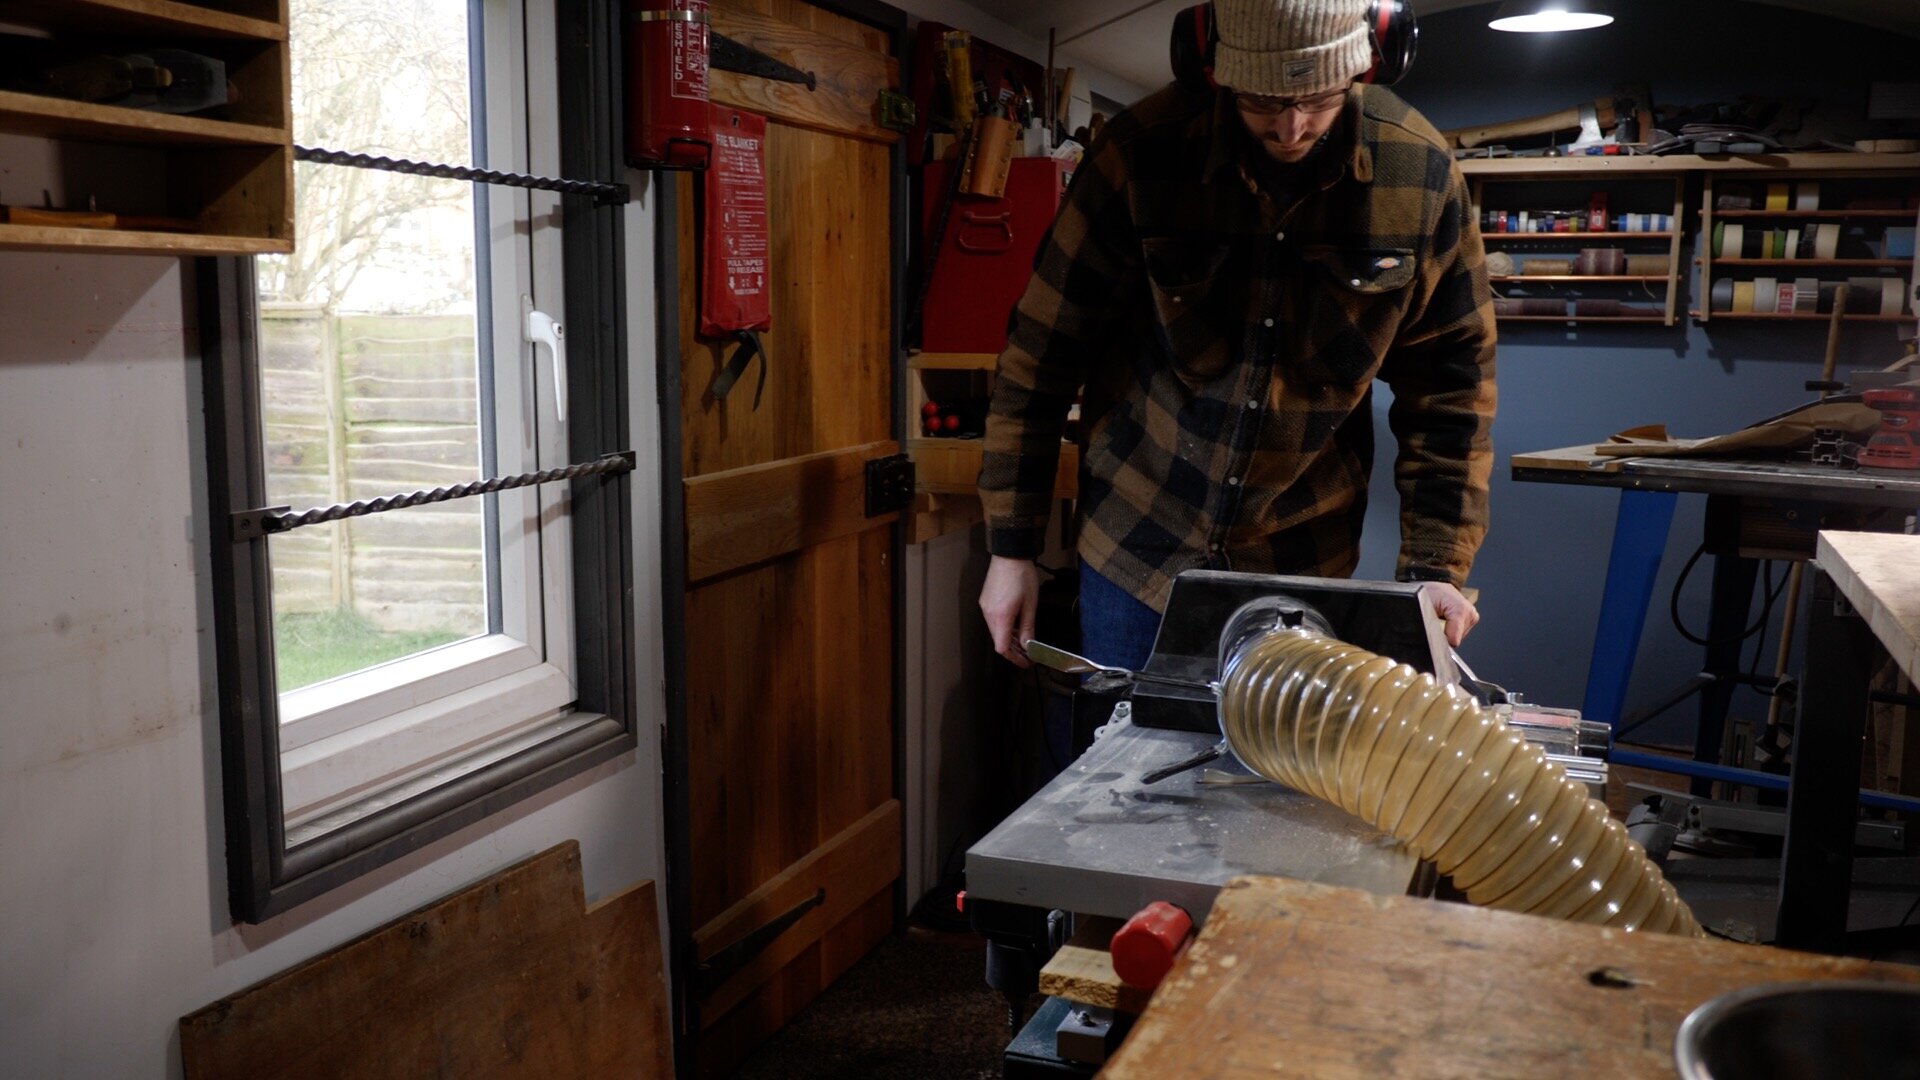
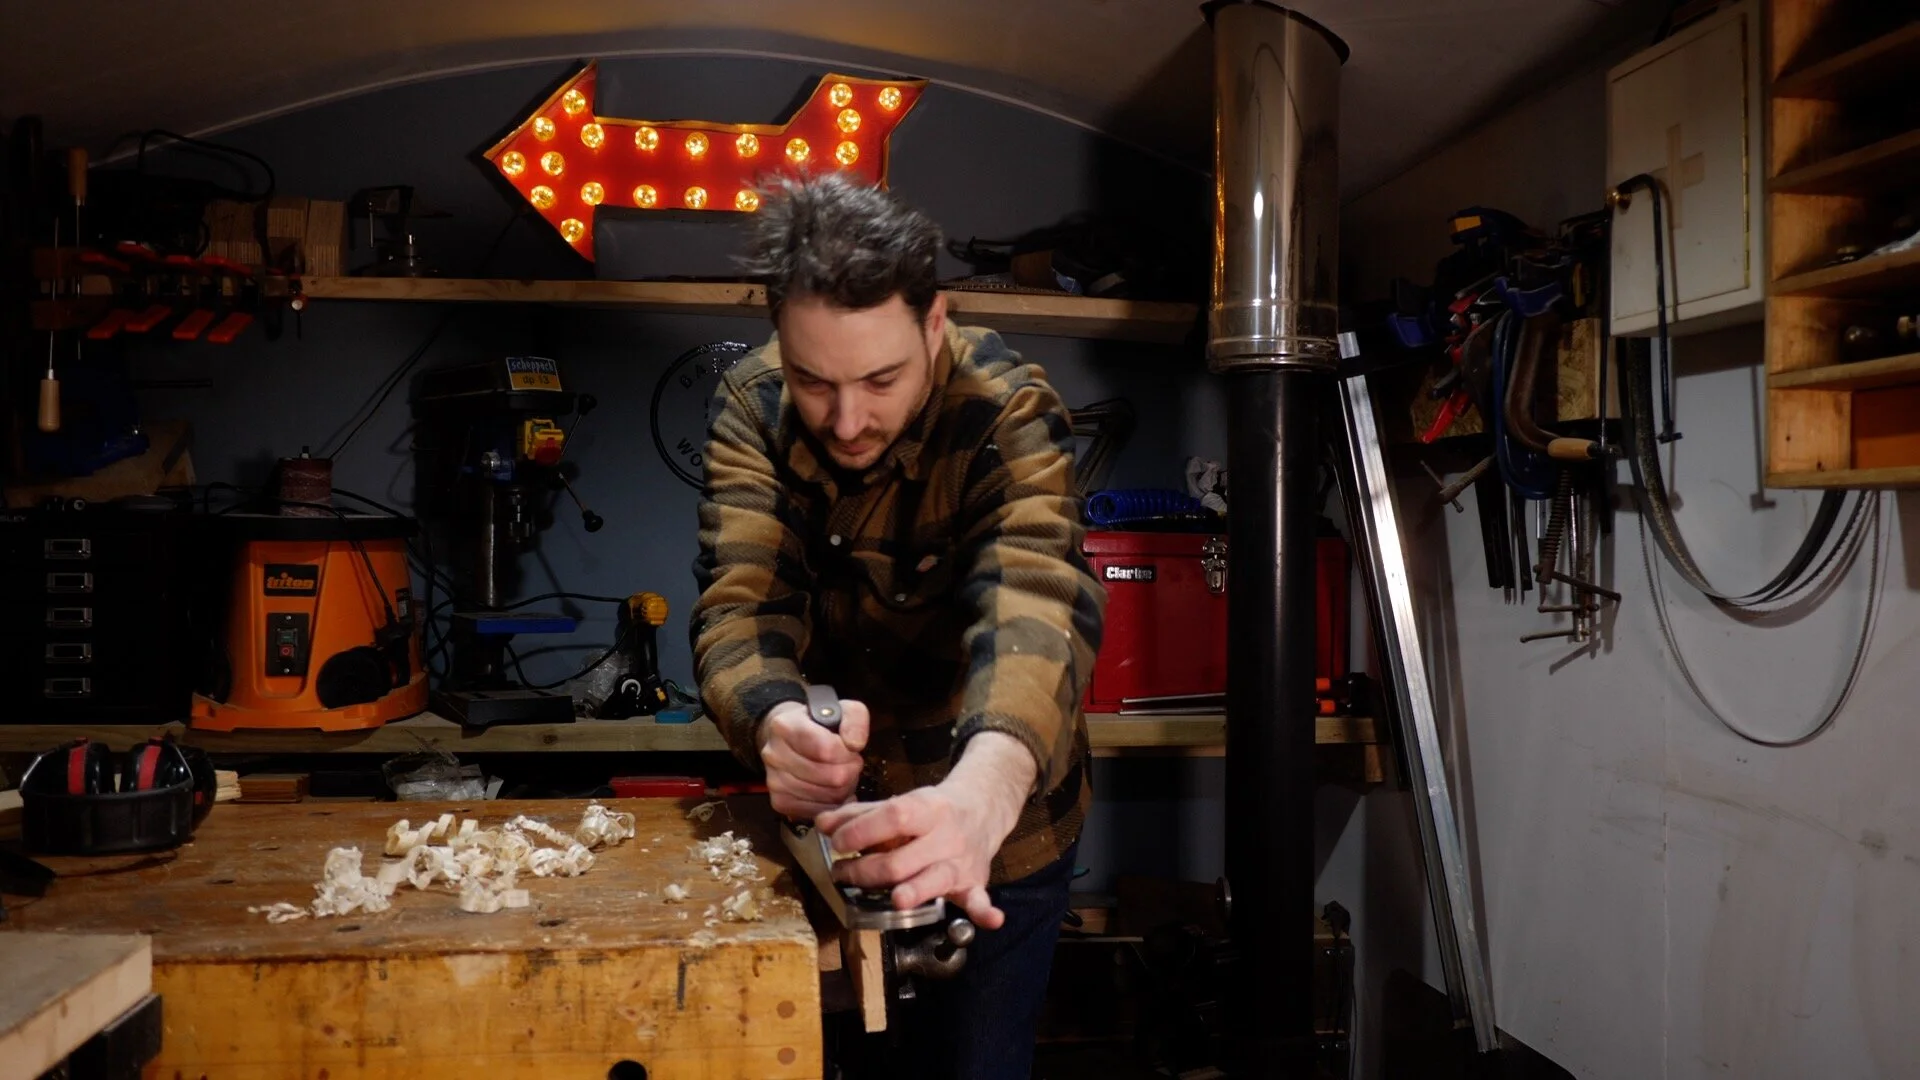
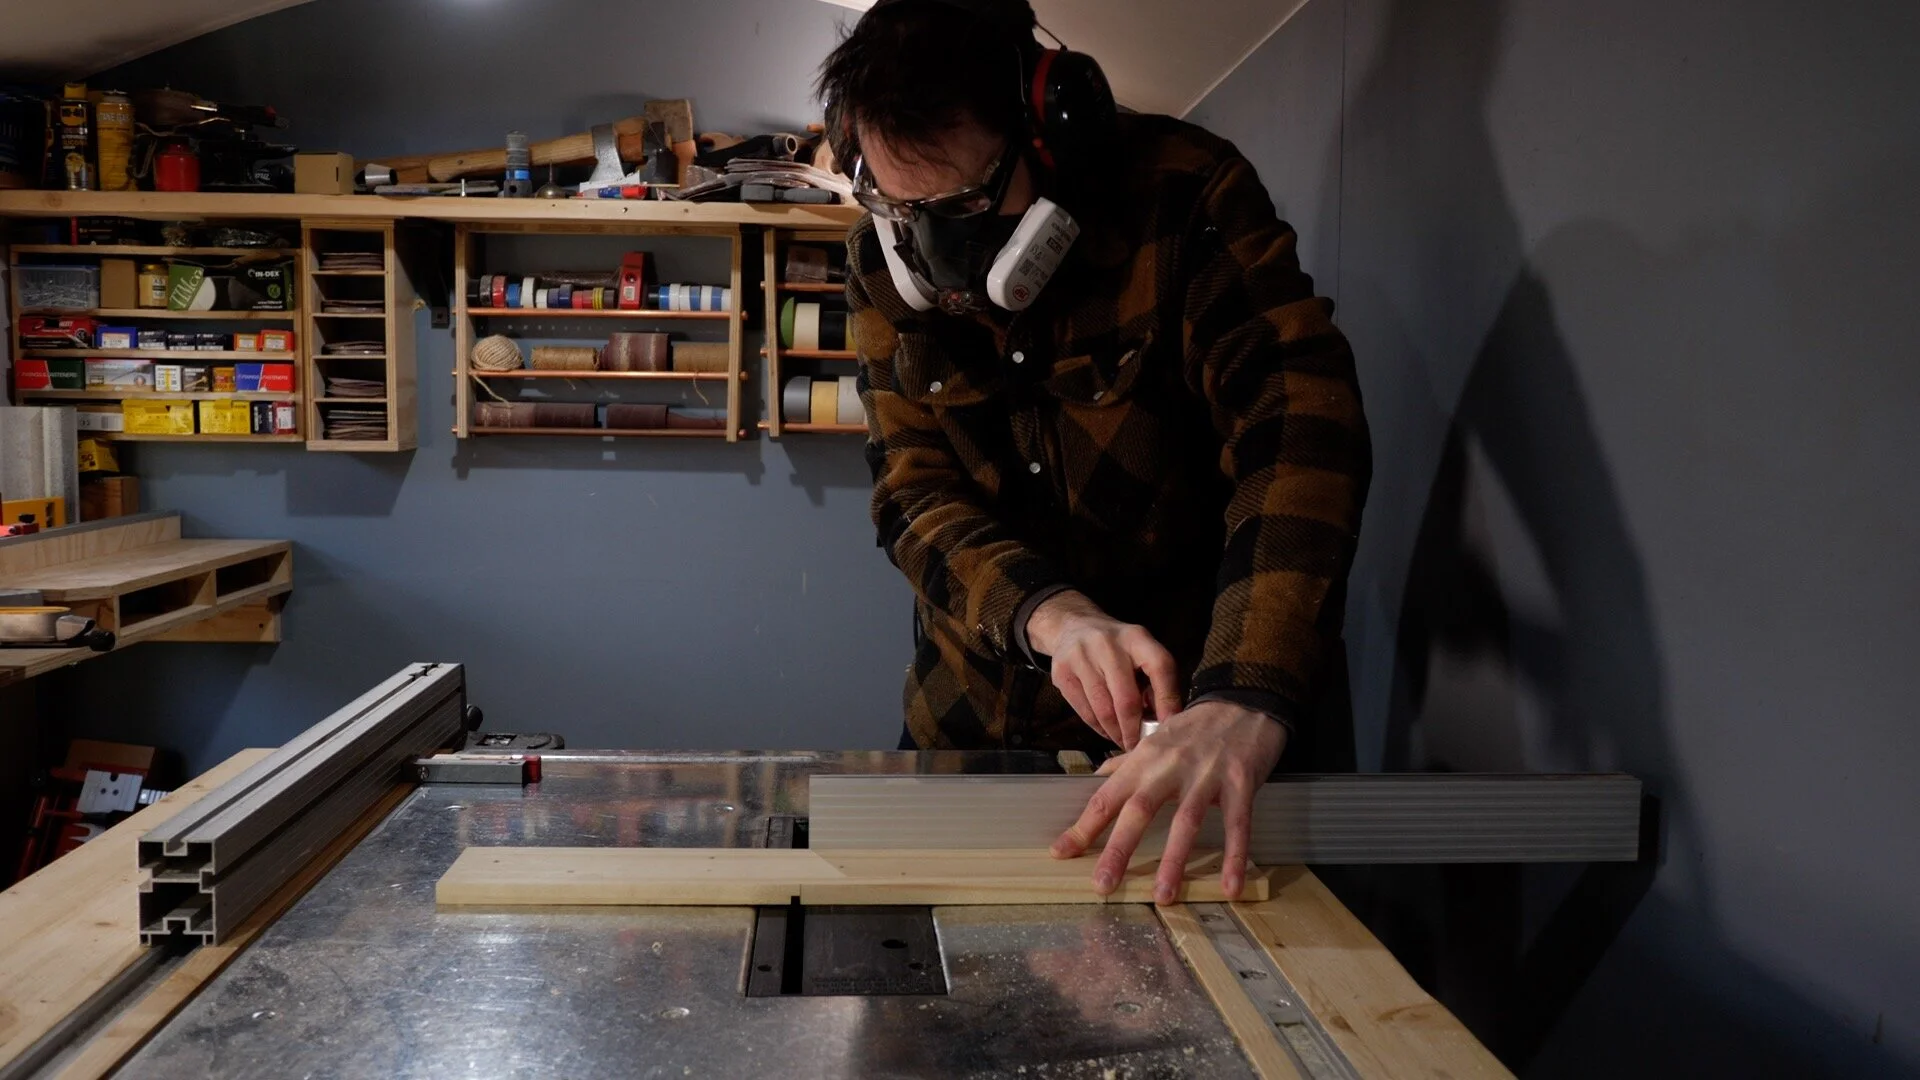
If you like the rustic pallet look then the boards could now just be sanded down. I want to clean the boards up more so I run them through the thicknesses on both sides and they can out looking as good as new. I cleaned up one edge using a hand plane and ran them though the table saw to clean up the final edge.

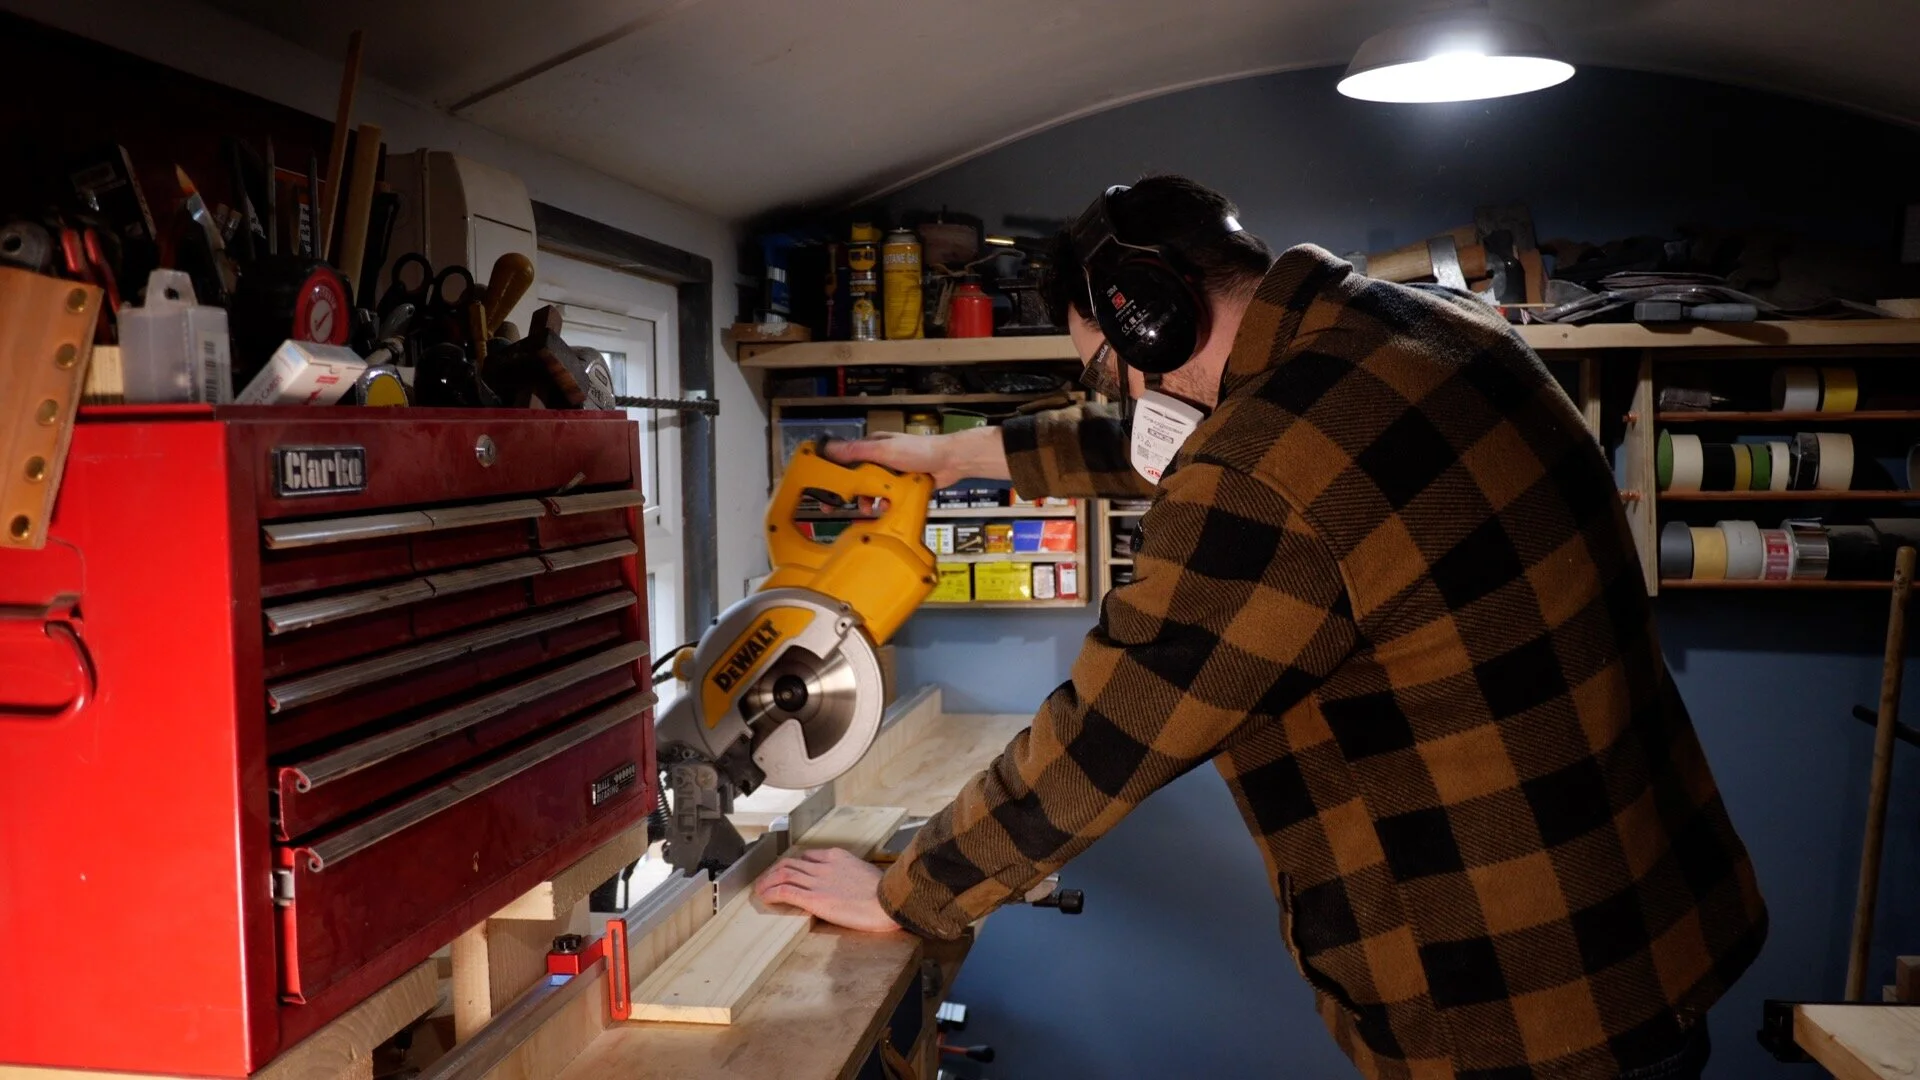
Now the pieces need to be cut to length. I use the plan I drew for reference and marked out the boards. I could then use the mitre saw to cut them to length.
I want two sides of the tray to have a rebate to accept a base later on. I set the hight of the table saw blade to the thickness to the material, then I use the table saw to cut out the rebate.
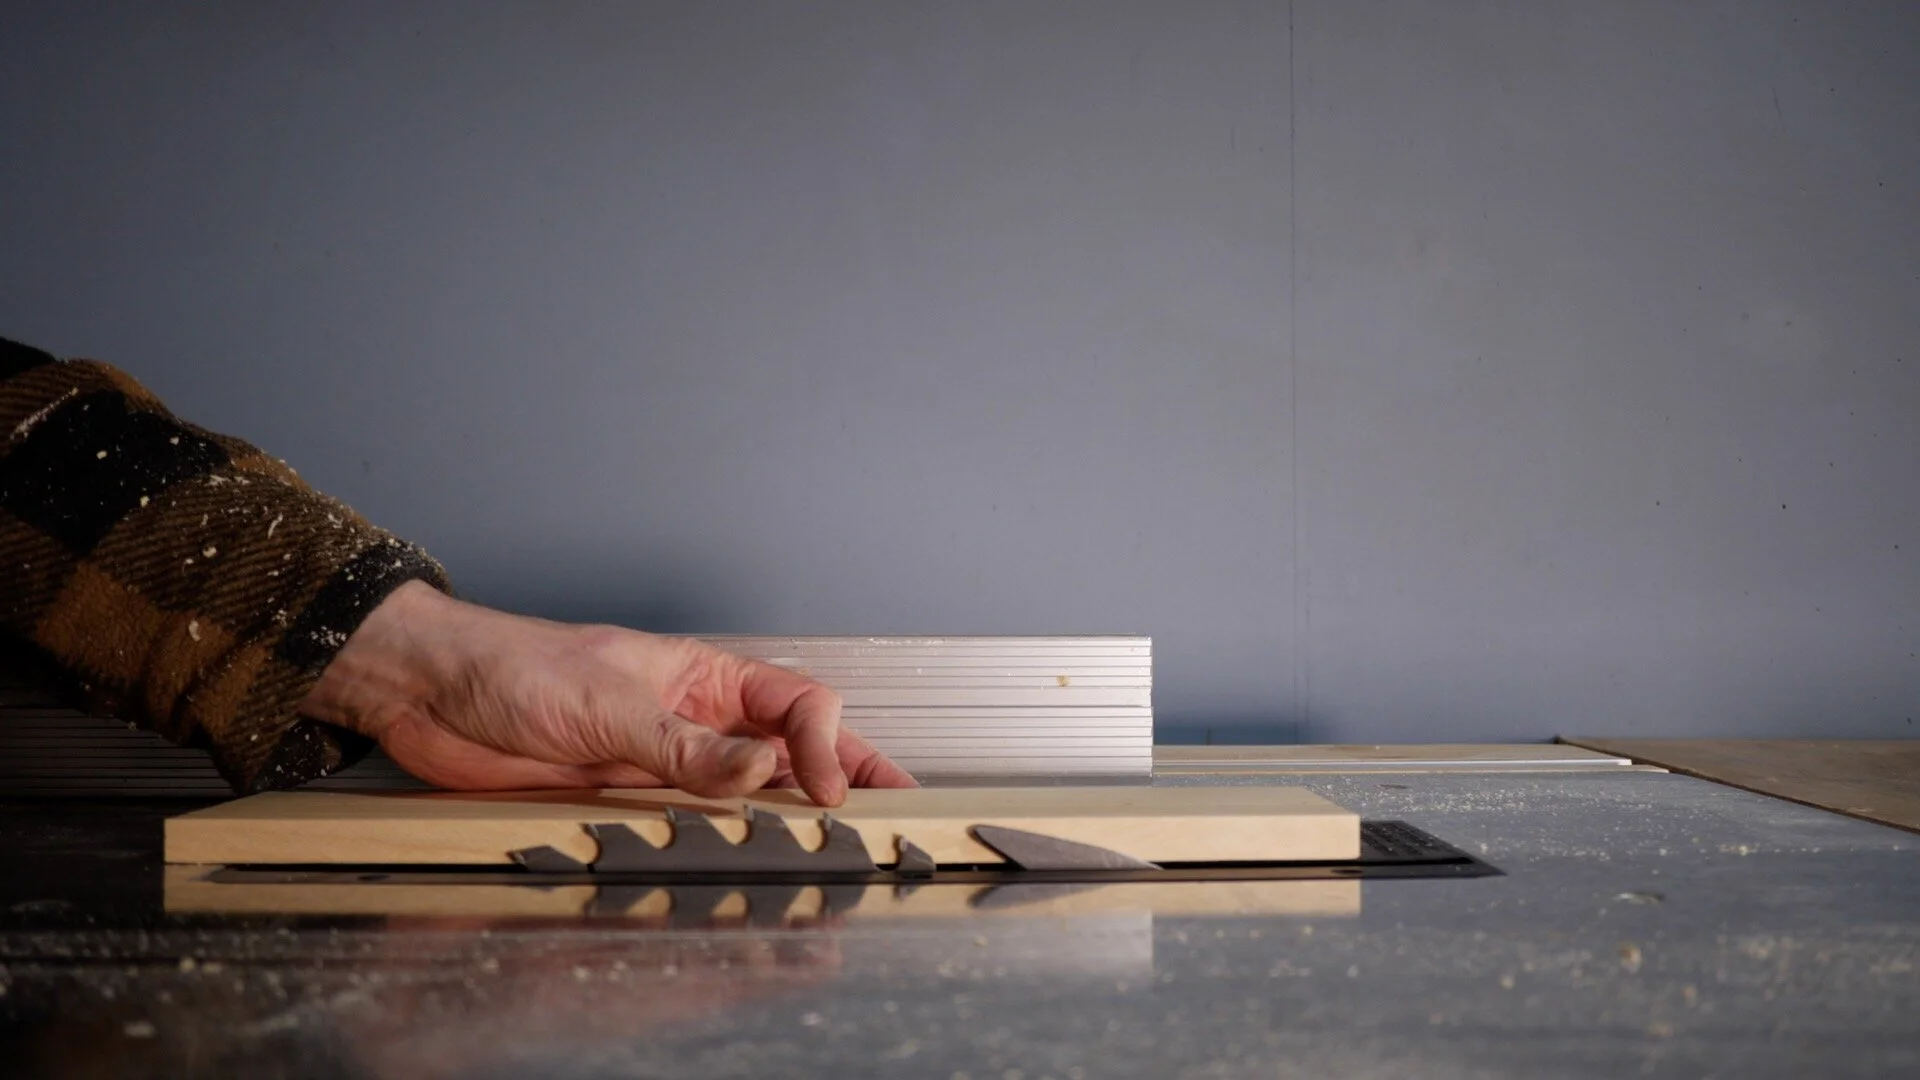


Before I can assemble this I need to cut some slots to accommodate the internal dividers. I use my plans to work out where they need to go then I set up my new jig to cut them. It is a little hard to explain how this jig works but at the bottle of this article is a video of me making this shoe shine kit and that explains it much better.
This jig can be found along with a lot of the other tools I use on my Amazon page.
https://www.amazon.co.uk/shop/badgerworkshop

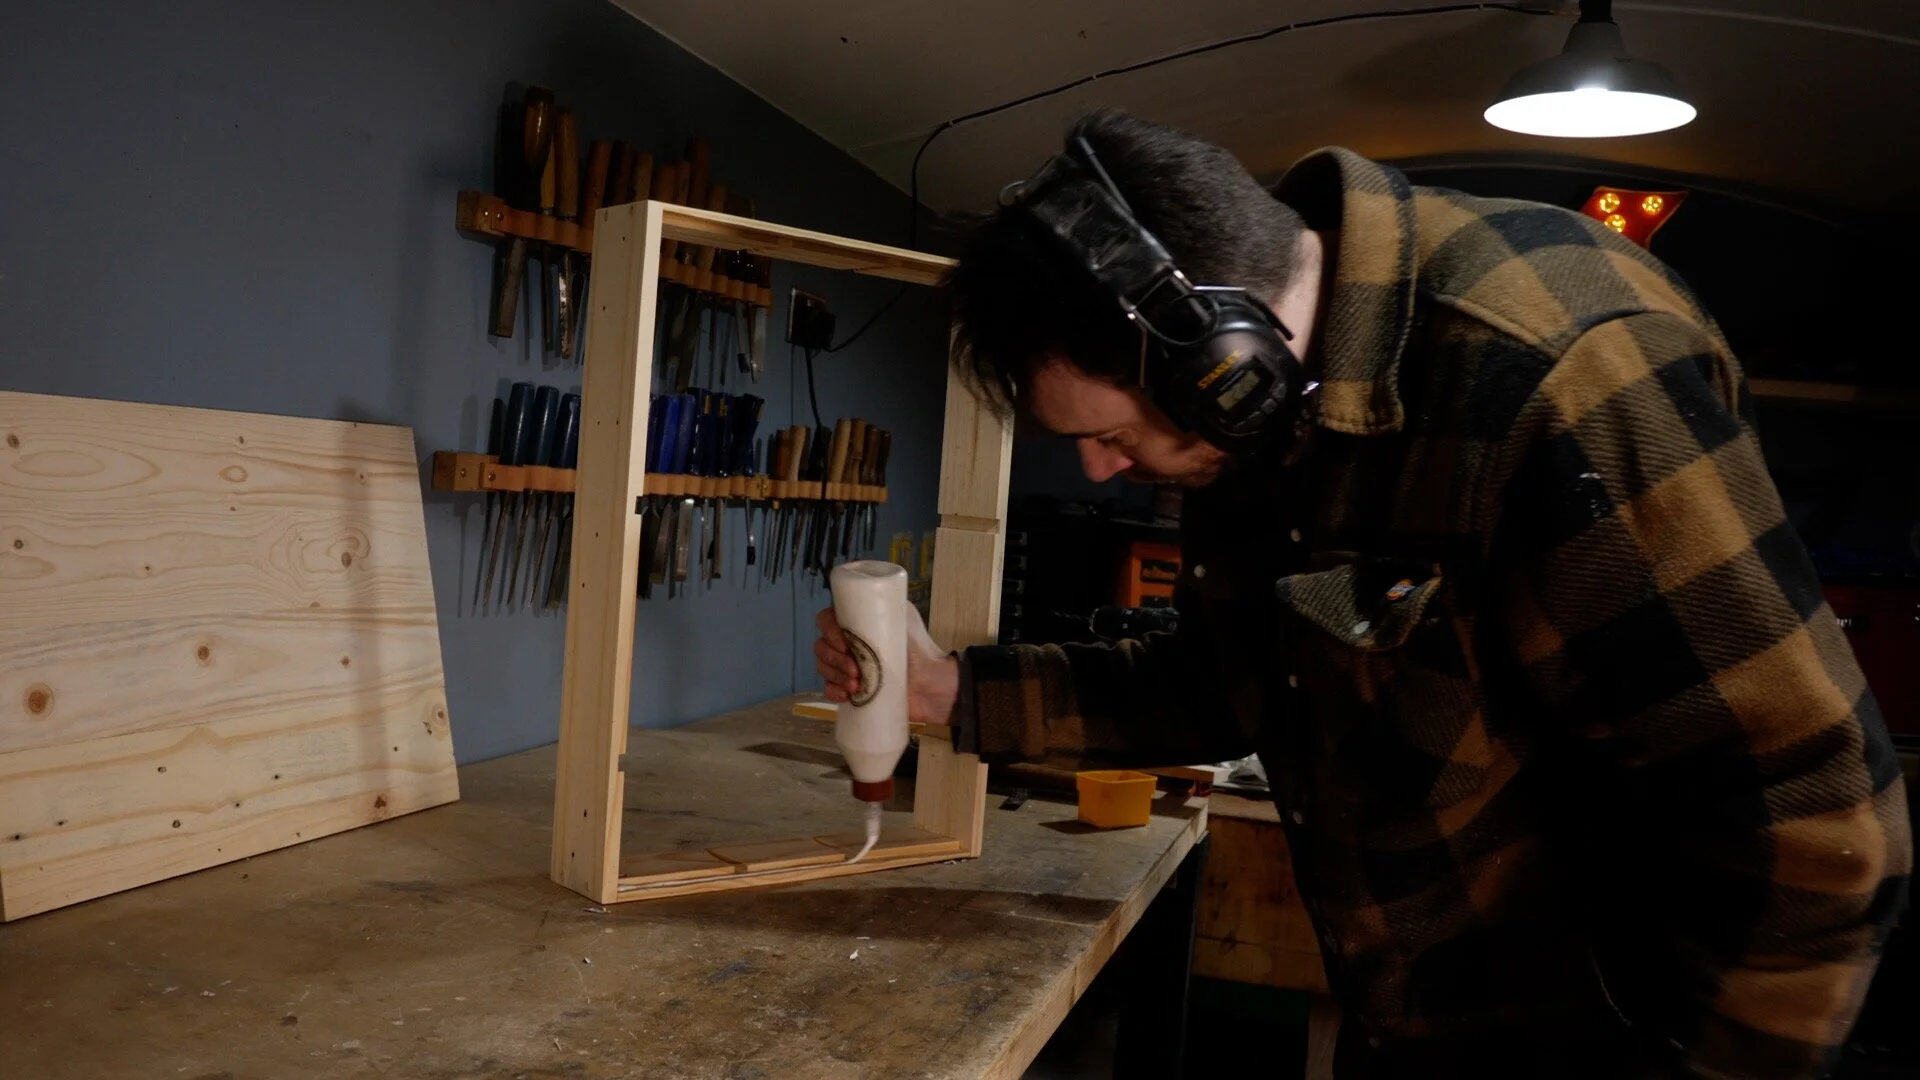
With all the slots cut I can start getting this put together. The four sides are just getting glued together with butt joints. This is not a very strong method of joinery but I will be coming back later to reinforce them.


Wile I waited for the glue to dry I started work on what will be the base of the shoe shine kit. I glued up several boards and and clamped them up into a panel.


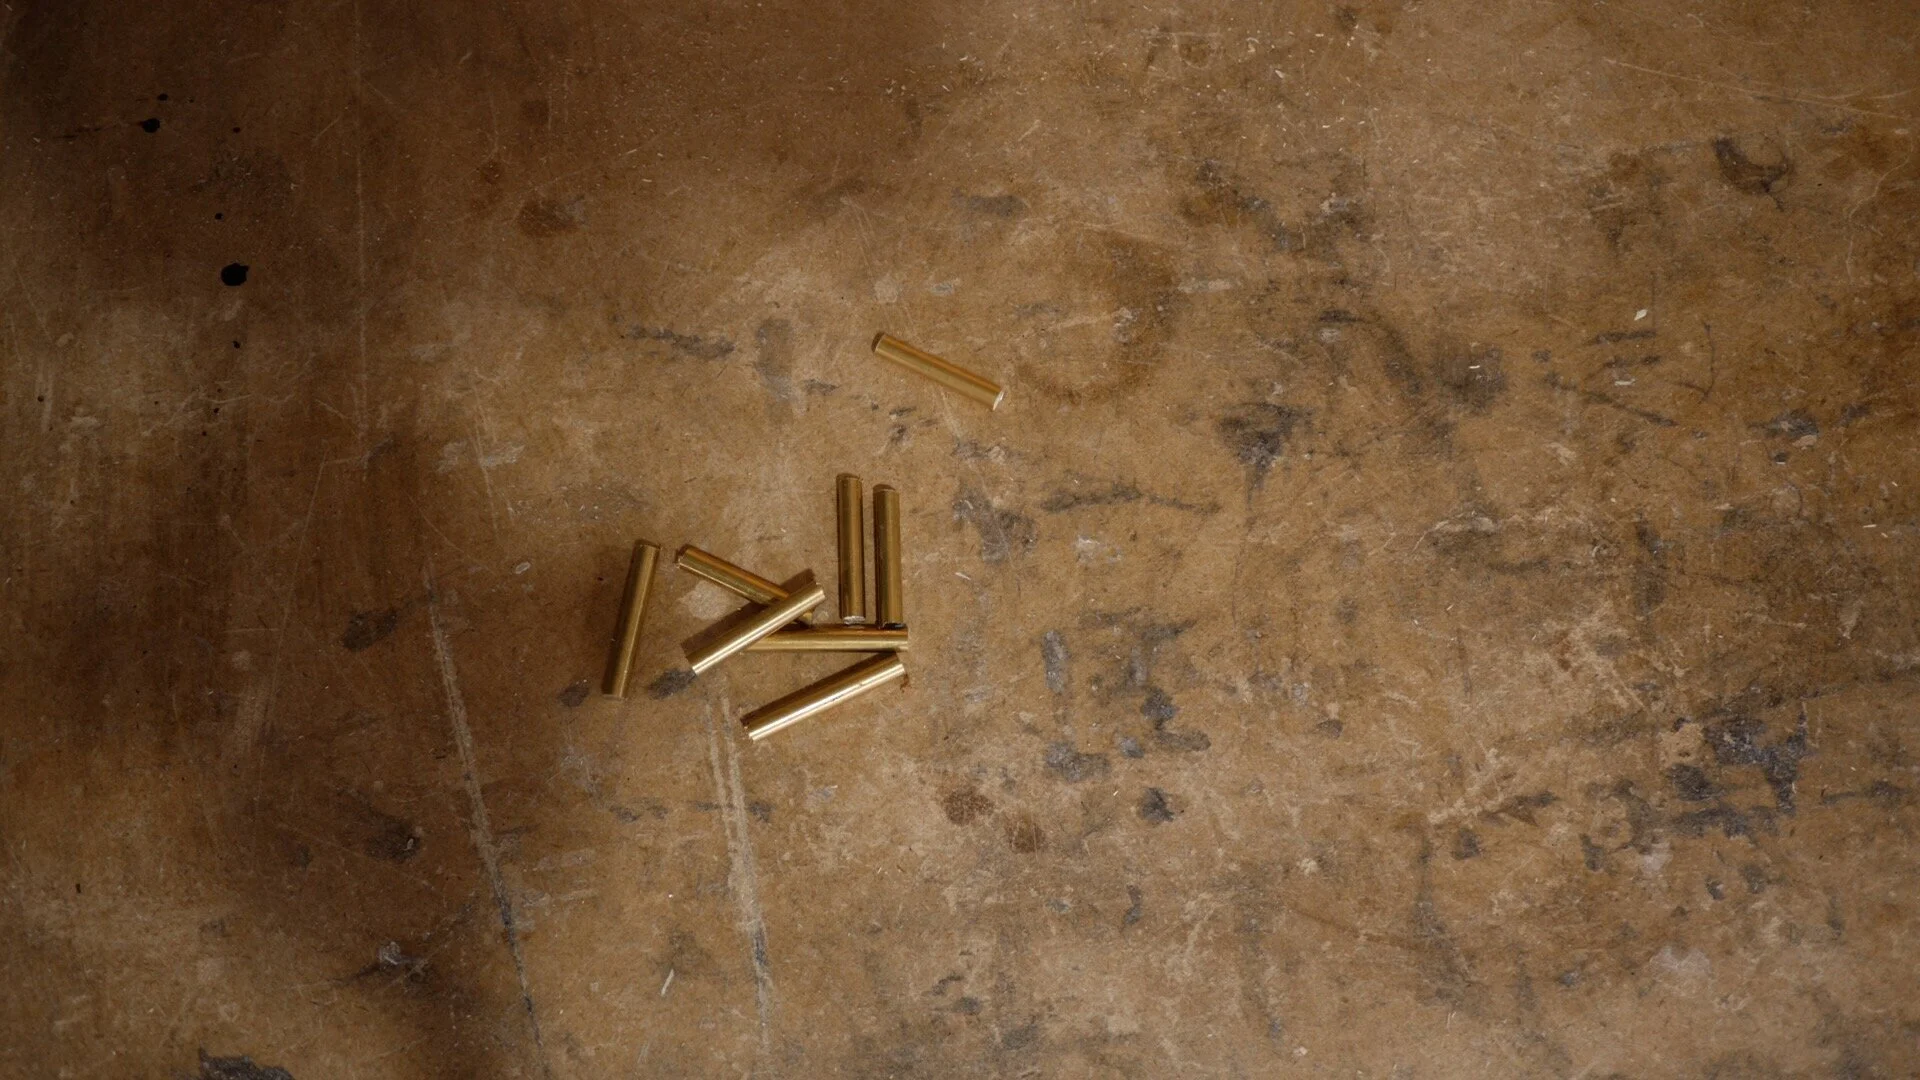
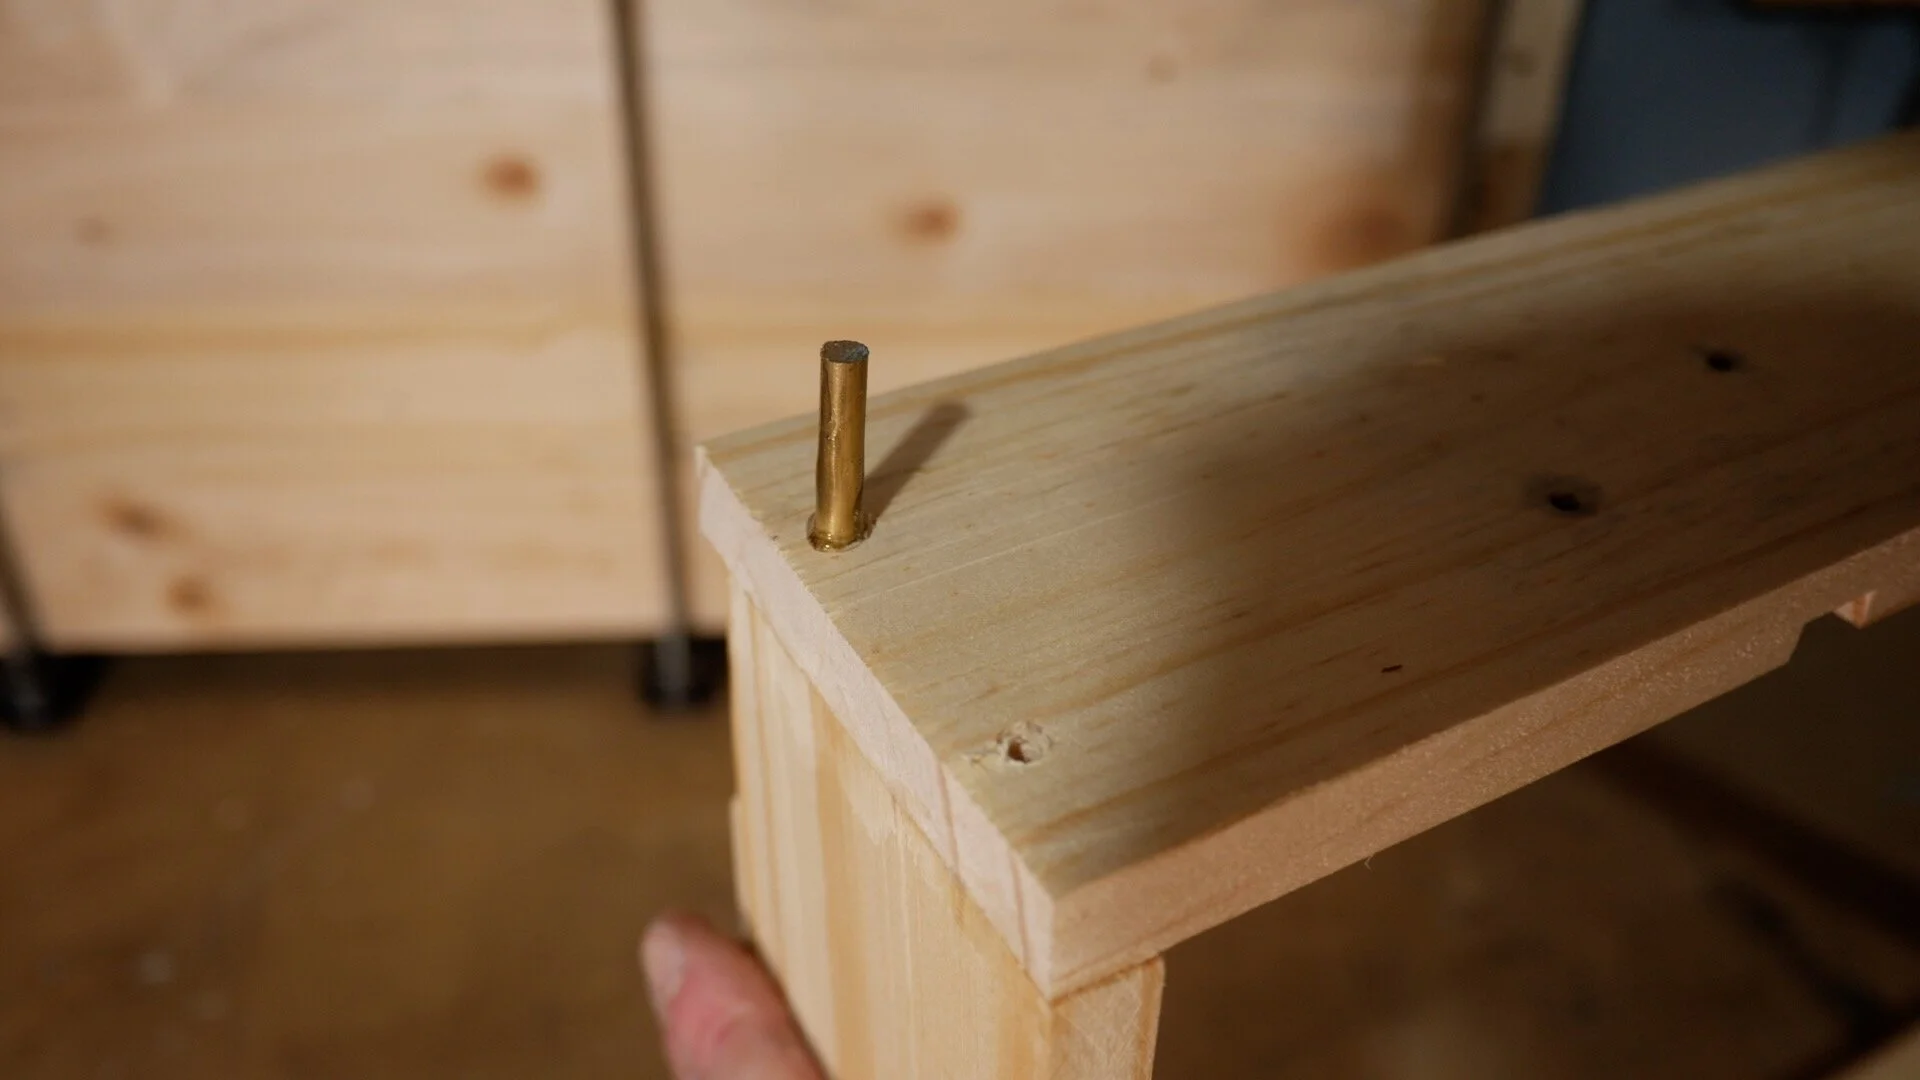
So I mentioned earlier about reinforcing the joints and I have been saving up little snaps of brass rod just for this purpose. I used a hacksaw to cut all the bits of rod down to the same length and then I used a drill guide to determine the size I would need to drill the hole to accept them. I drilled two holes in each of the corners using the drill guide to make sure I was drilling strait.

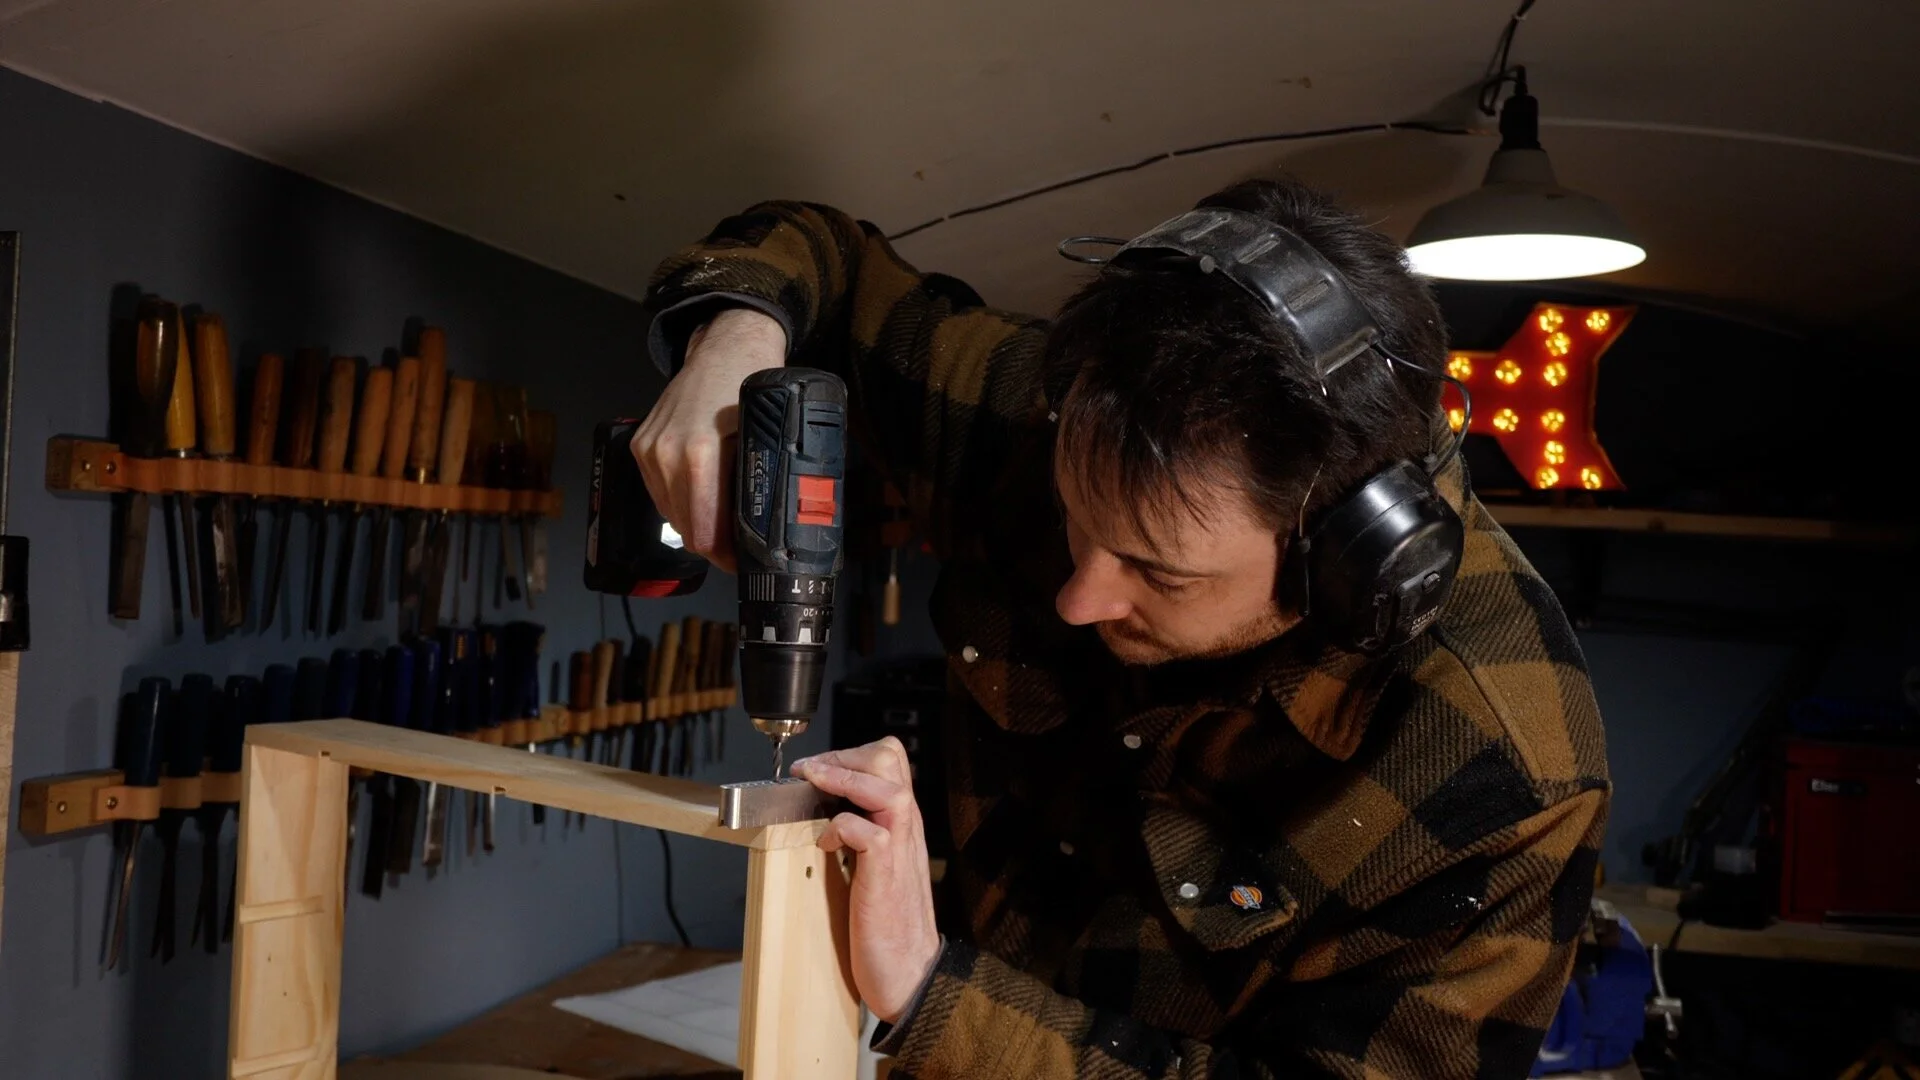
I mixed up a small batch of epoxy and spread it onto the brass rod. I could now tap them down into the holes I had drilled. When the epoxy had dried I could sand the pins flush with the sides.


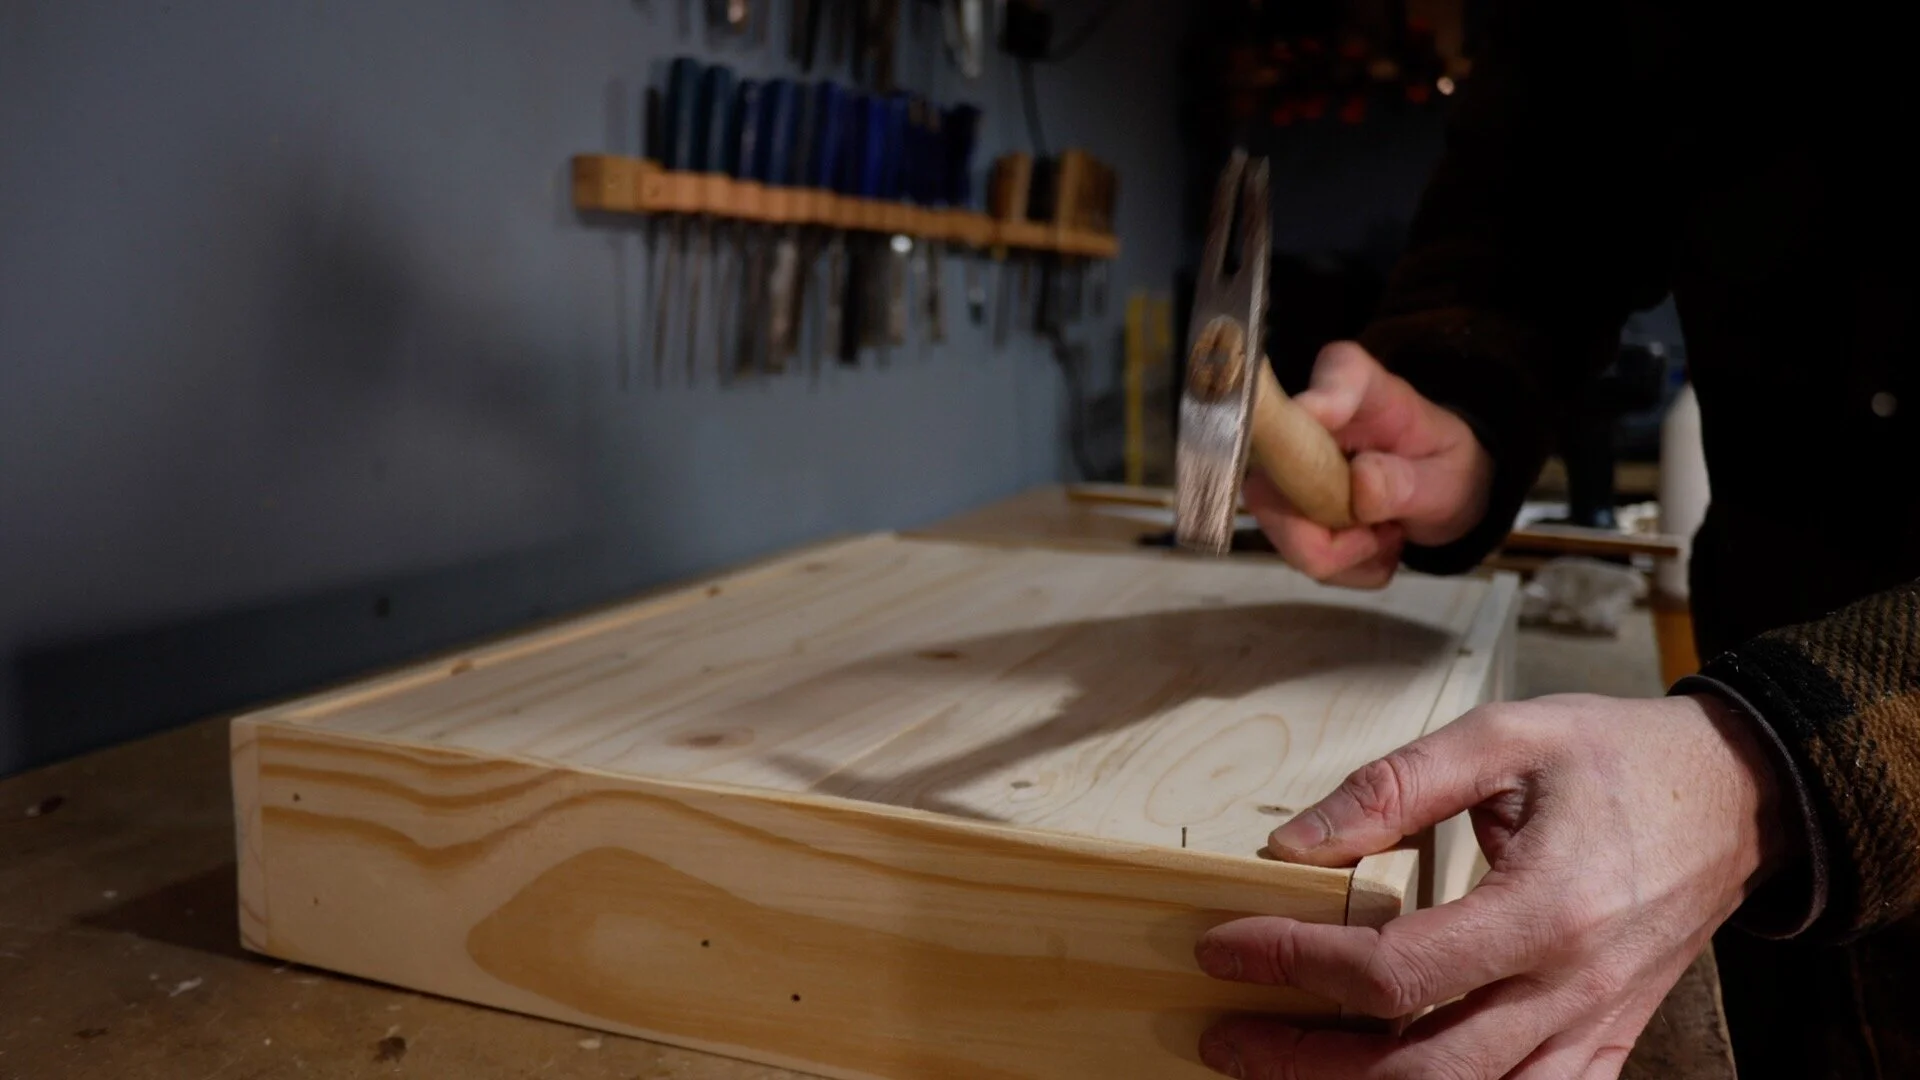
By now the glue had dried on the panel for the base. I got it cut down to side and then put some glue into the rebate I had cut. The base could now go into place and held there with a few panel pins.

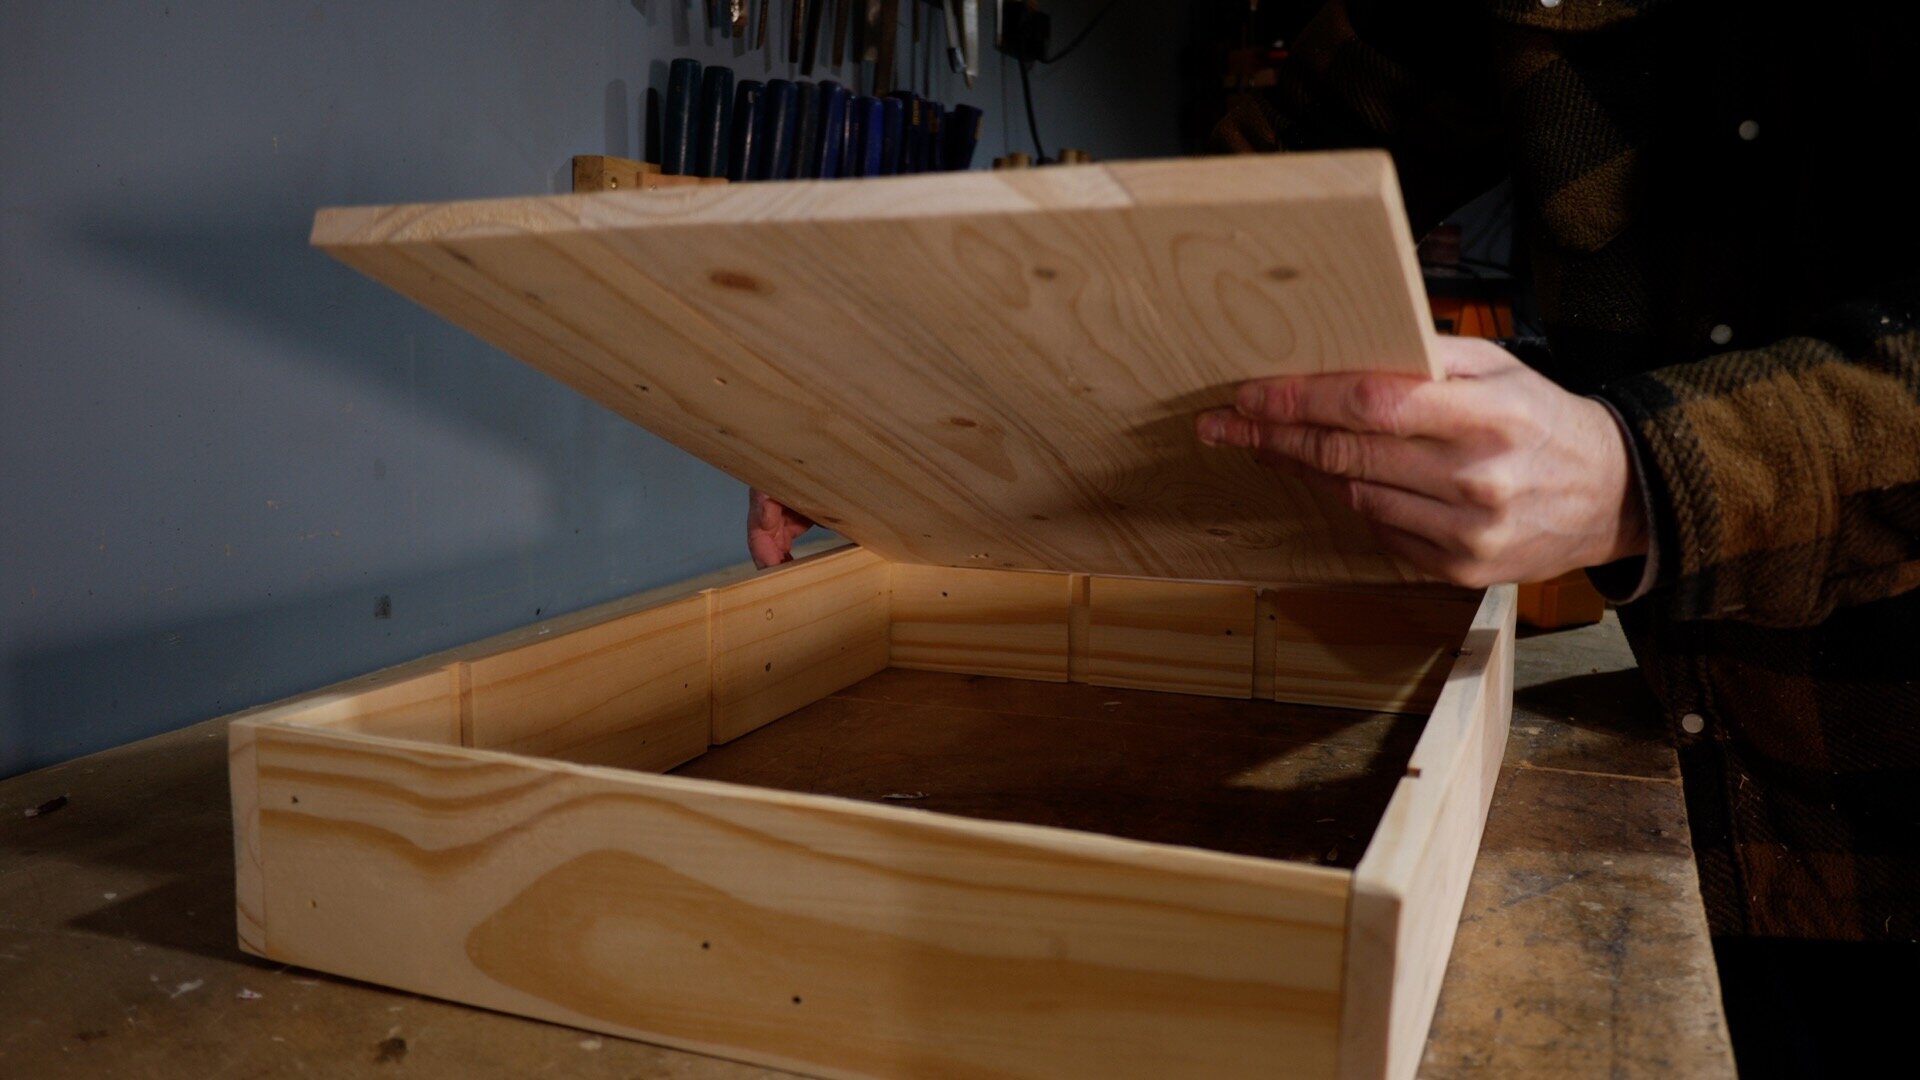
The internal dividers can now be installed. I did not use any glue for these, they just slid into the slots I had cut.

I wanted the shoe shine kit to have some handles for carry it by and I thought I would keep with the brass theme. I bent some longer pieces of brass bar to form a couple on handles.


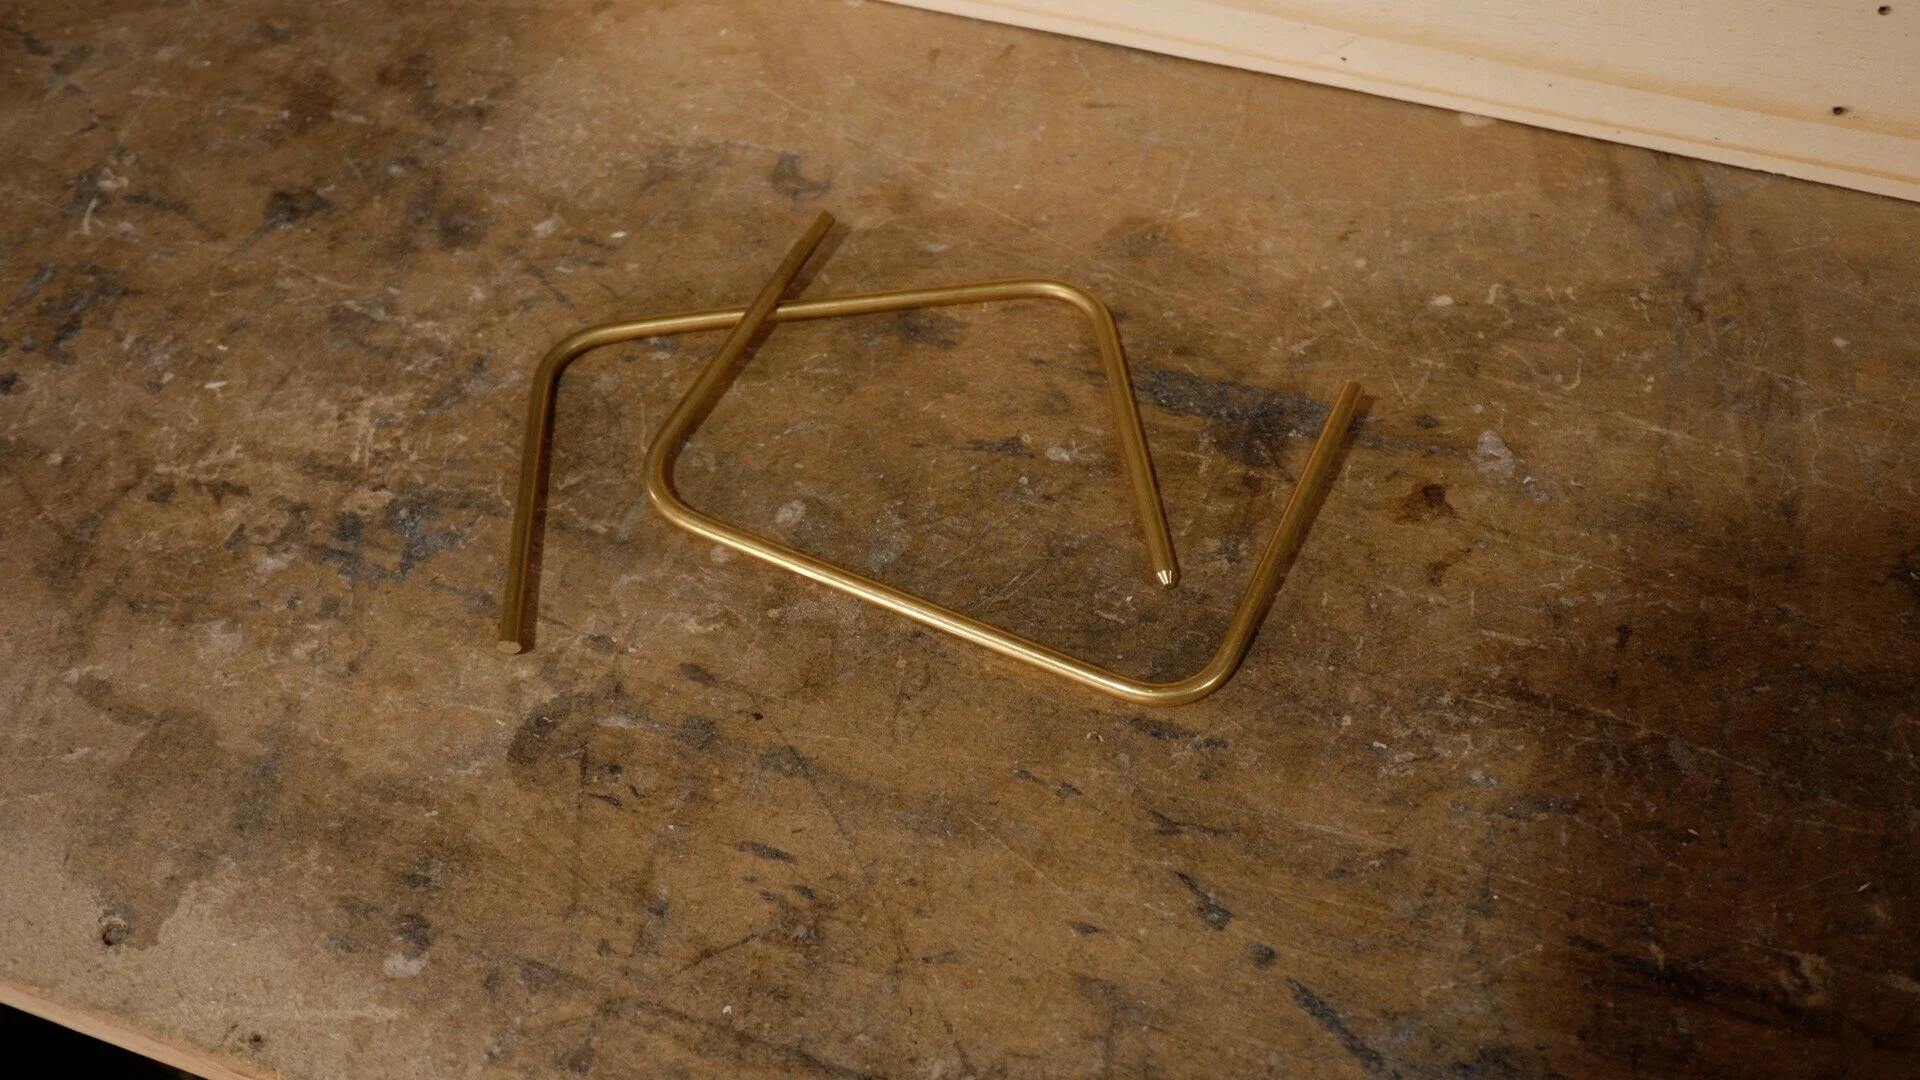
I got these attached in the same way, drilling holes, applying epoxy and tapping into place.


To finish the tray I used the same hard wax oil that I used on the bin cupboard I made a few projects back.


Thats it all done. I no longer have any excuse for dirty shoes. Thank you for reading and if you would like to be informed when I have a new project out then please subscribe at the top of the page. For more information there is a video bellow of me building the shoe polish kit.
Thank you.