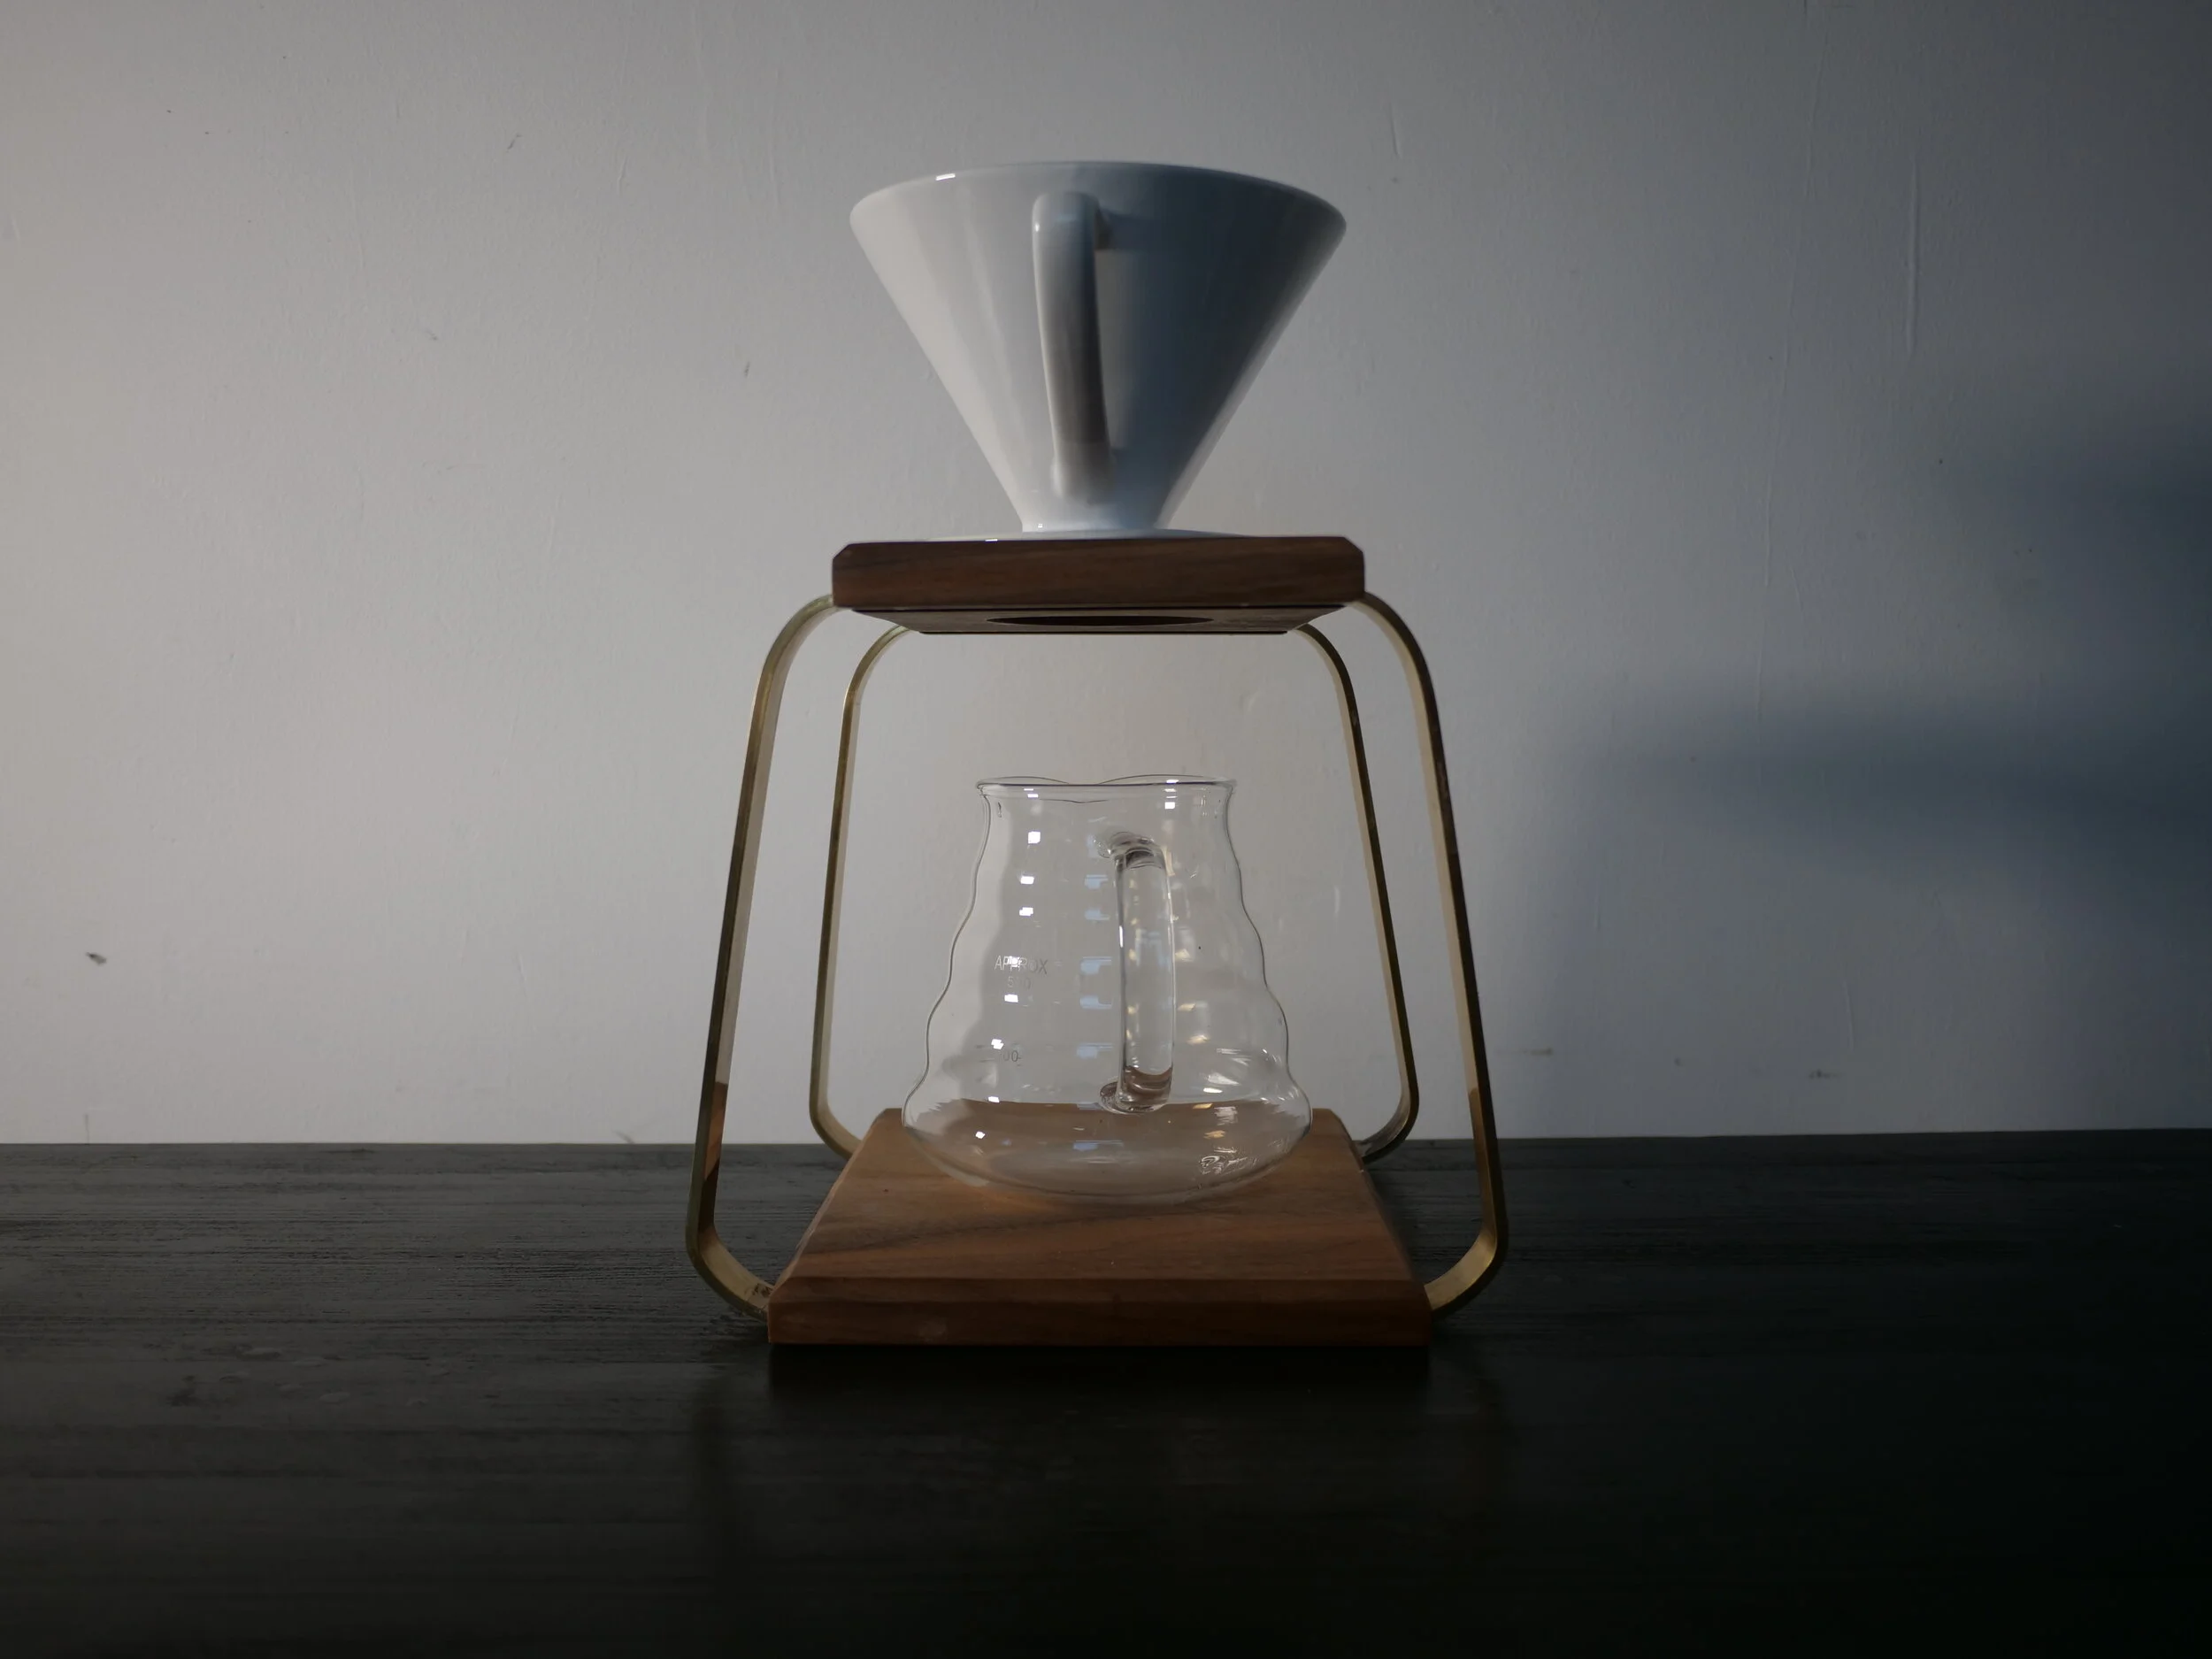
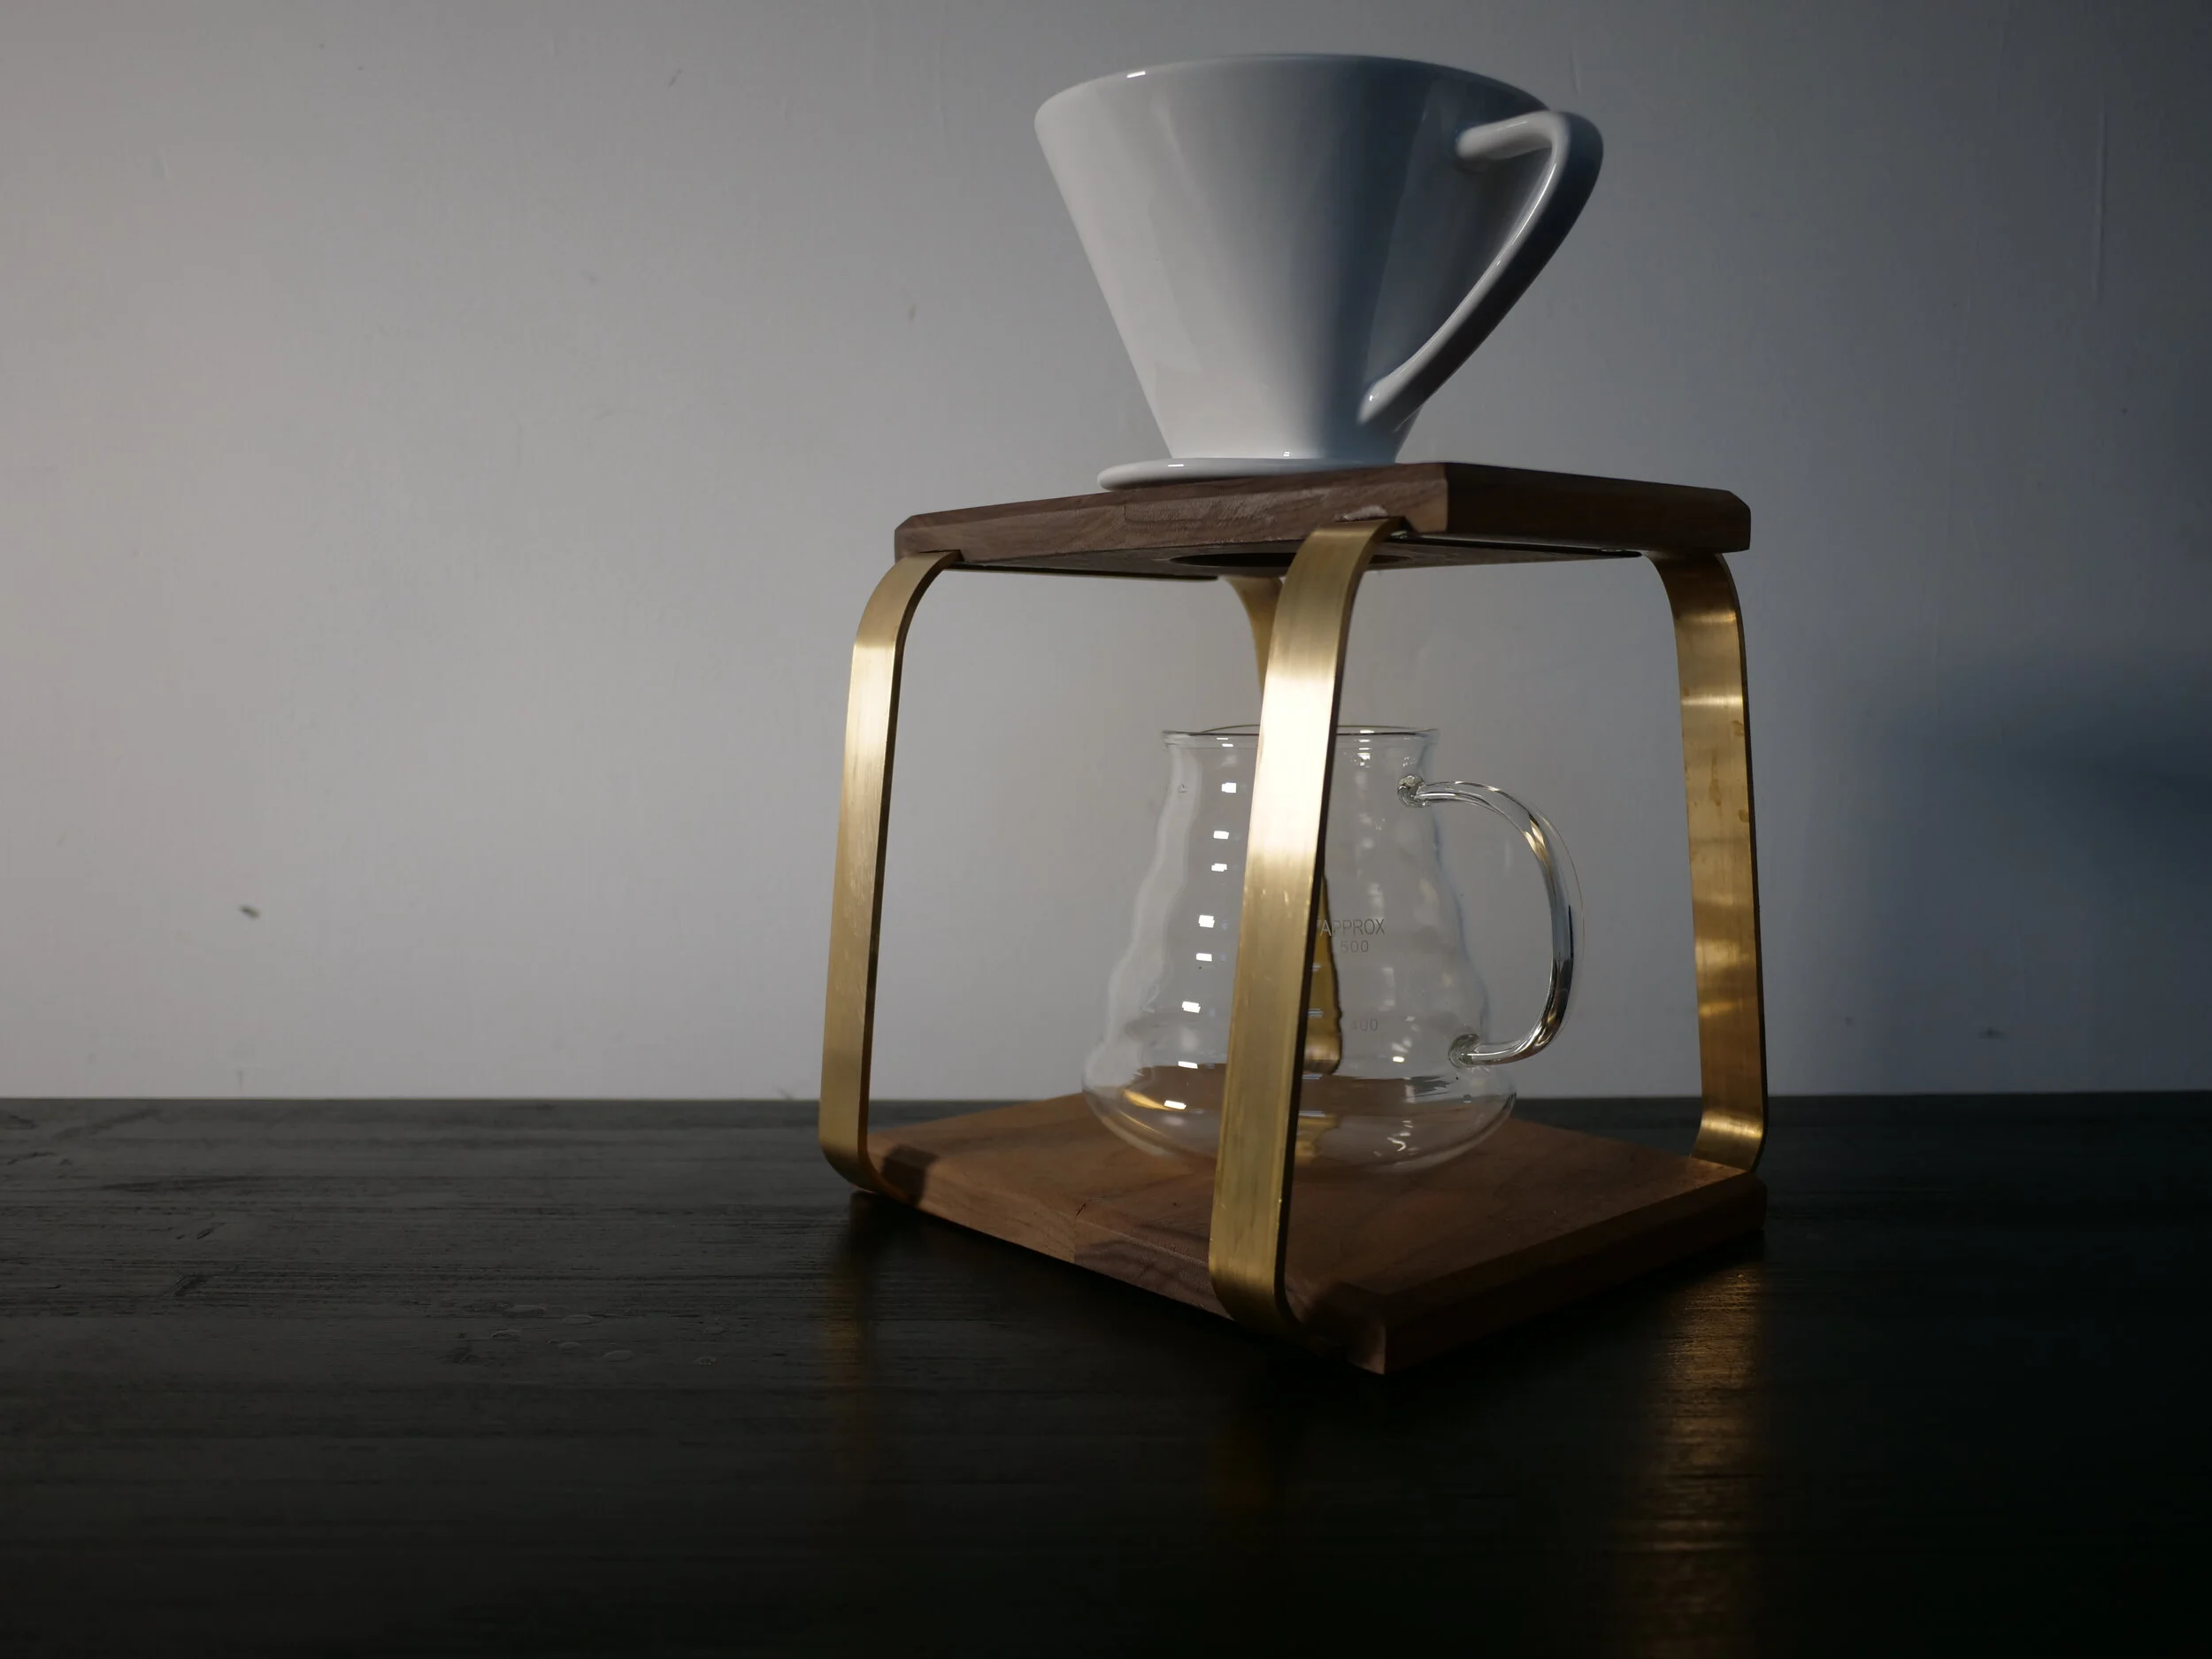
Pour Over Coffee Maker
I will start with the caveat that I’m not a big coffee drinker - I like to start my day with a nice mug of strong tea. But occasionally I have guests over, and it would be nice to be able to offer them something better than instant coffee. The trend seems to be to get one of those pod-based machines, but I don’t need more plastic in my life, and I always prefer a low tech option. After a bit of research, the pour-over coffee seemed to be the way to go.
I started by making a couple of purchases: a ceramic cone to hold the filter papers; and a glass jug to catch the coffee. I got both of these from Amazon and here is an affiliate link if you wish to look at them: https://www.amazon.co.uk/shop/badgerworkshop?listId=6RNE59VODQ4H&ref=idea_share_inf
Once I received the two items, I was able to sketch out a plan for the build. My idea was to make a brass stand to hold the two parts, with bits of walnut for them to sit on.
With the plan drawn out, you can see how the jug will fit into the frame and the filter on top. The angles are arbitrary and I just went with what looked good while still fitting around the jug.
I set my bevel gauge to the drawing and used it to set the angle on my metal bender.
Using my plan as reference, I marked on some brass bar where the bends for the top needed to go. I used 3mm by 19mm brass bar, which was readily available on Ebay. I could then line my marks up on the bender and make the bends to the desired angle. (NOTE: Brass is pretty soft and it would be possible to make the bend just using a vice but as I had the machine I used it.)
If you fancy a metal bender for yourself ( and who would not? ) here is a link to the tools I use: https://www.amazon.co.uk/shop/badgerworkshop
With both bends done on two pieces of brass, I checked them against my plans - they were close enough.
Each piece of brass then needed two more bends to make the base. The base was not quite flat, but I knew this would get pulled into shape when the wood is added.
I did not have any walnut wide enough for this project to I glued up some off-cuts to make a couple of panels.
When they dried, I cut them to size on the mitre saw, and marked out the centre on the one that was going to be the top. I then found a hole saw big enough to accommodate the ceramic cone and drill through the wood on the centre mark.
To soften the edges a little, I used a chamfer bit in my router table, but the edges could easily be rounded over with some sanding.
The wood needed a groove cut in to accommodate the brass, so I set the height of the table saw blade to the thickness of the brass, and made several cuts to remove the waste material. This allowed the brass to sit nicely in the recess.
As kitchen items get a bit of abuse, I finished the wood with a hard wax oil, as these are very hard-wearing.
While I was waiting for the finish to dry, I used the time to drill and countersink some holes into the brass for screws, so I could attach it to the wood. When it had finally dried ( hard wax oil takes a while ) I was able to finally get all the bits screwed together.
Then it was all finished! A filter goes in the top, and gets a couple of scoops of ground coffee, then almost-boiling* water gets poured over. All I need now are some visitors so I can try this out…
*water should be just off the boil, to avoid burning the coffee, which can make it taste bitter.
If you enjoyed this build and would like some more information, please watch this video and consider subscribing to me on YouTube. I post a new project each week.


