Making A Round Oak Mirror With A Leather Hanger
Last year, I decorated my living room. I installed a floating mantel, but the wall above it has been looking a little bare. I thought what the space needed was a mirror. At my local DIY store, I picked up a circular piece of mirror glass and my plan was to challenge myself to make a round frame for it. I decided to make the frame from strips of oak glued together - this method is called bent lamination. To hang the mirror from the wall, I am going to use a leather strap.
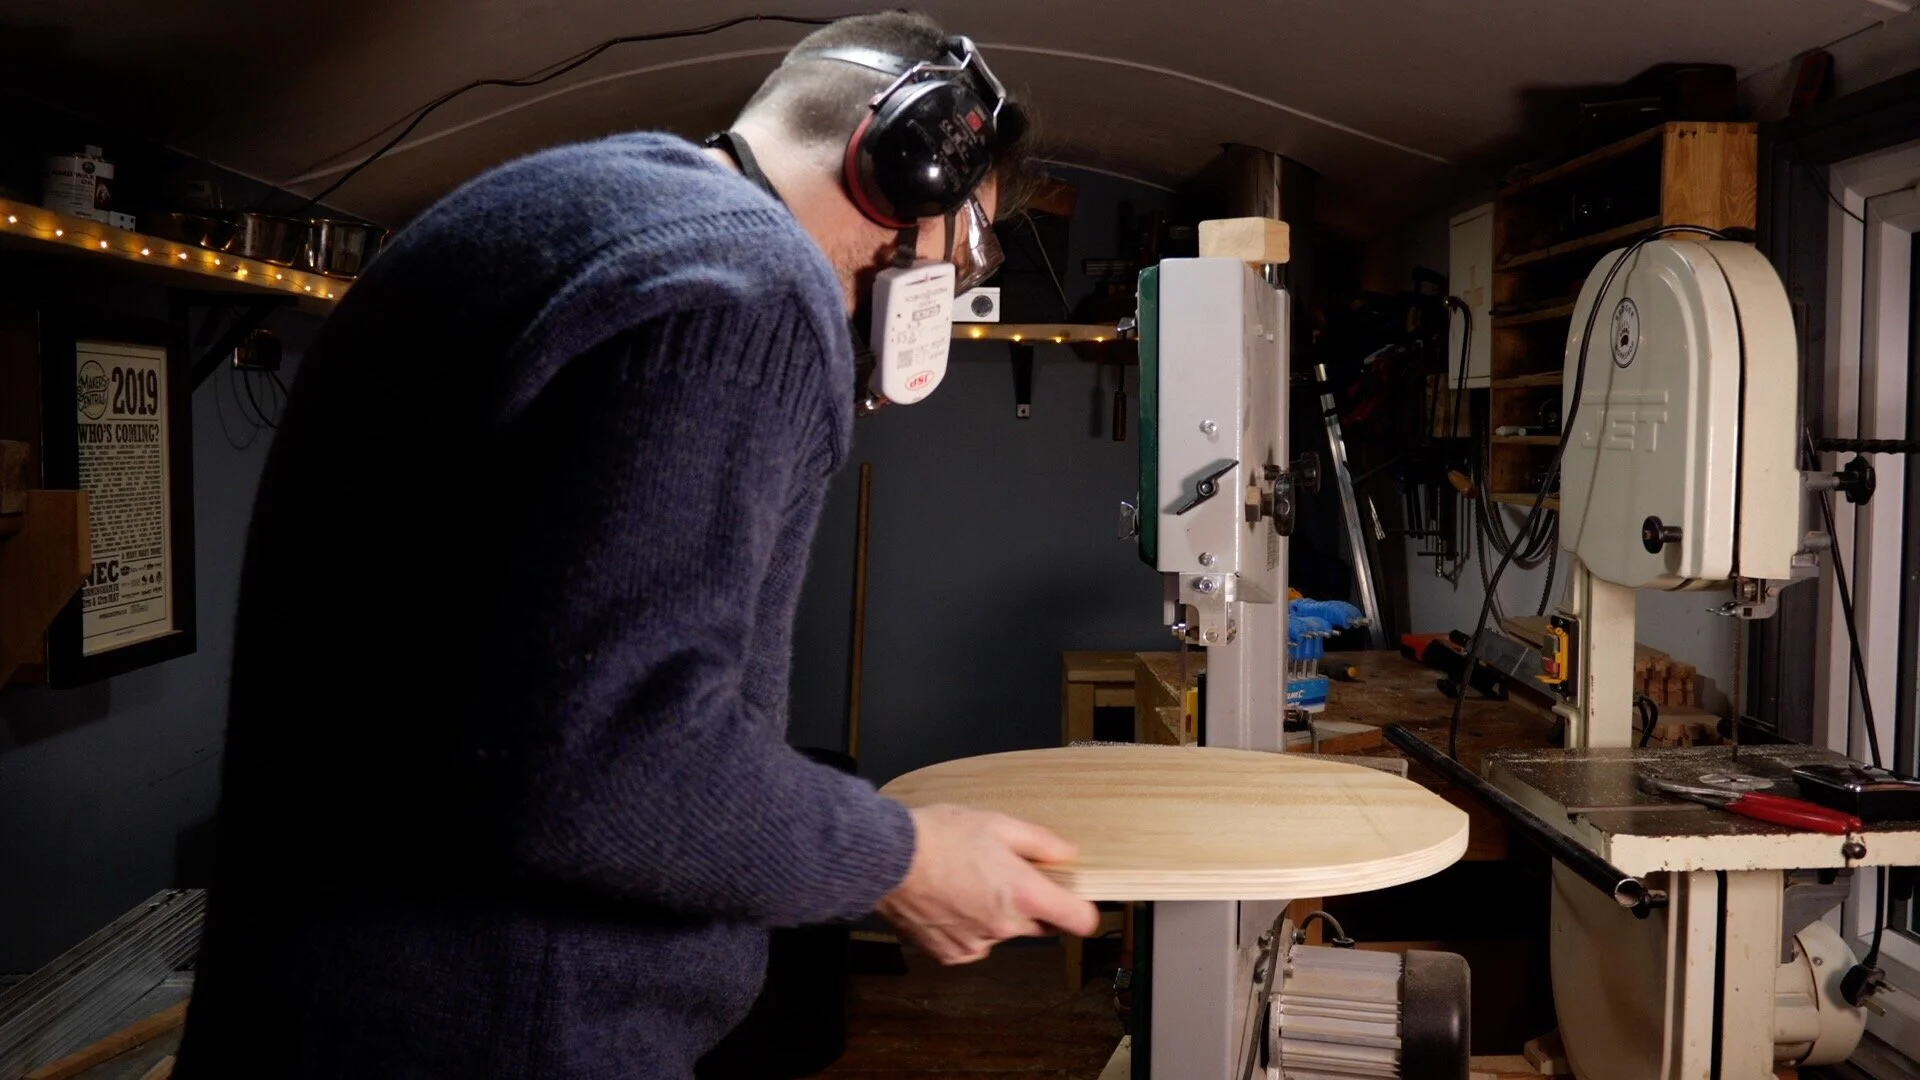
I started by cutting a backer board to mount the mirror glass onto. For this, I used some 18mm plywood. I marked out the centre of the board, then used my circle-cutting jig on the bandsaw to cut a piece the same size as the mirror glass. If you don't have a bandsaw you could just draw round the mirror glass and use a jigsaw to cut it out.
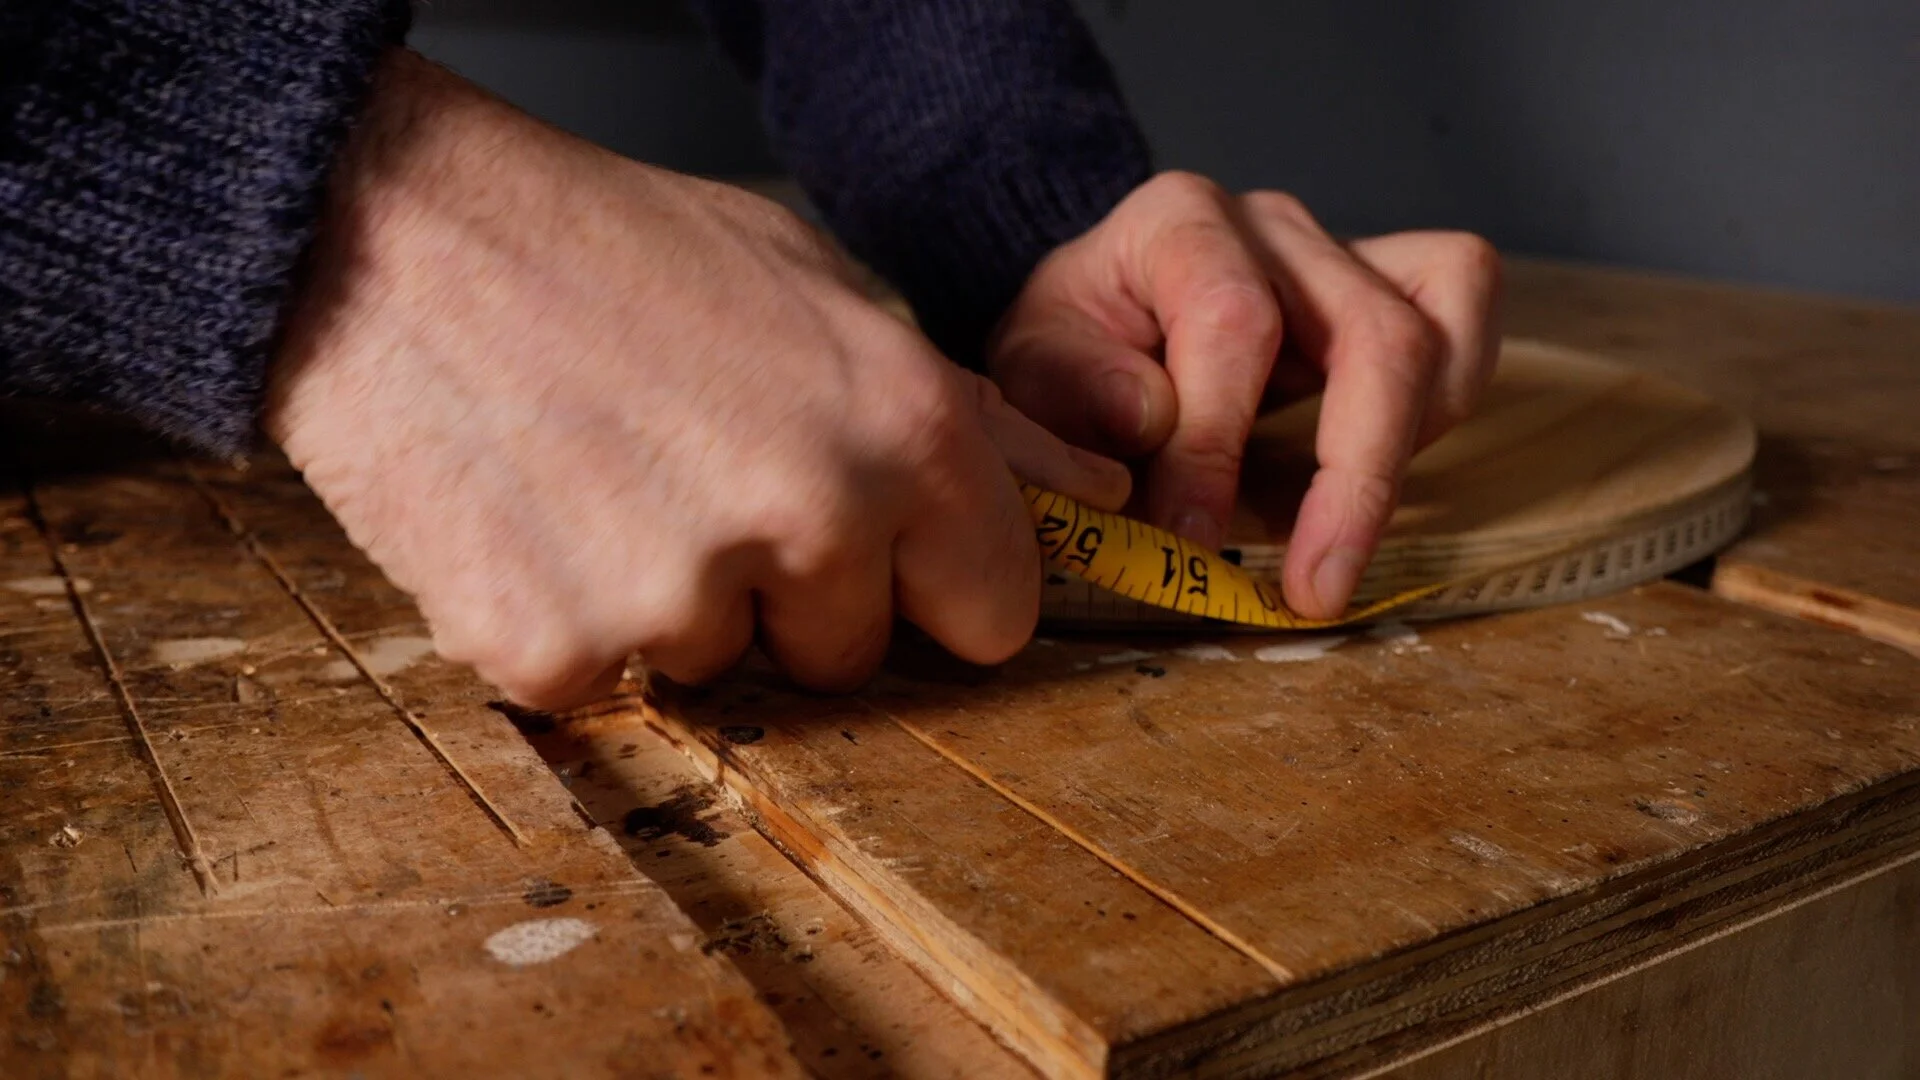
After I cut out, I did some sanding to clean up the edge, then measured the circumference of the circle with a tape. I then marked this measurement out on some oak (adding a few centimetres, just to be safe).
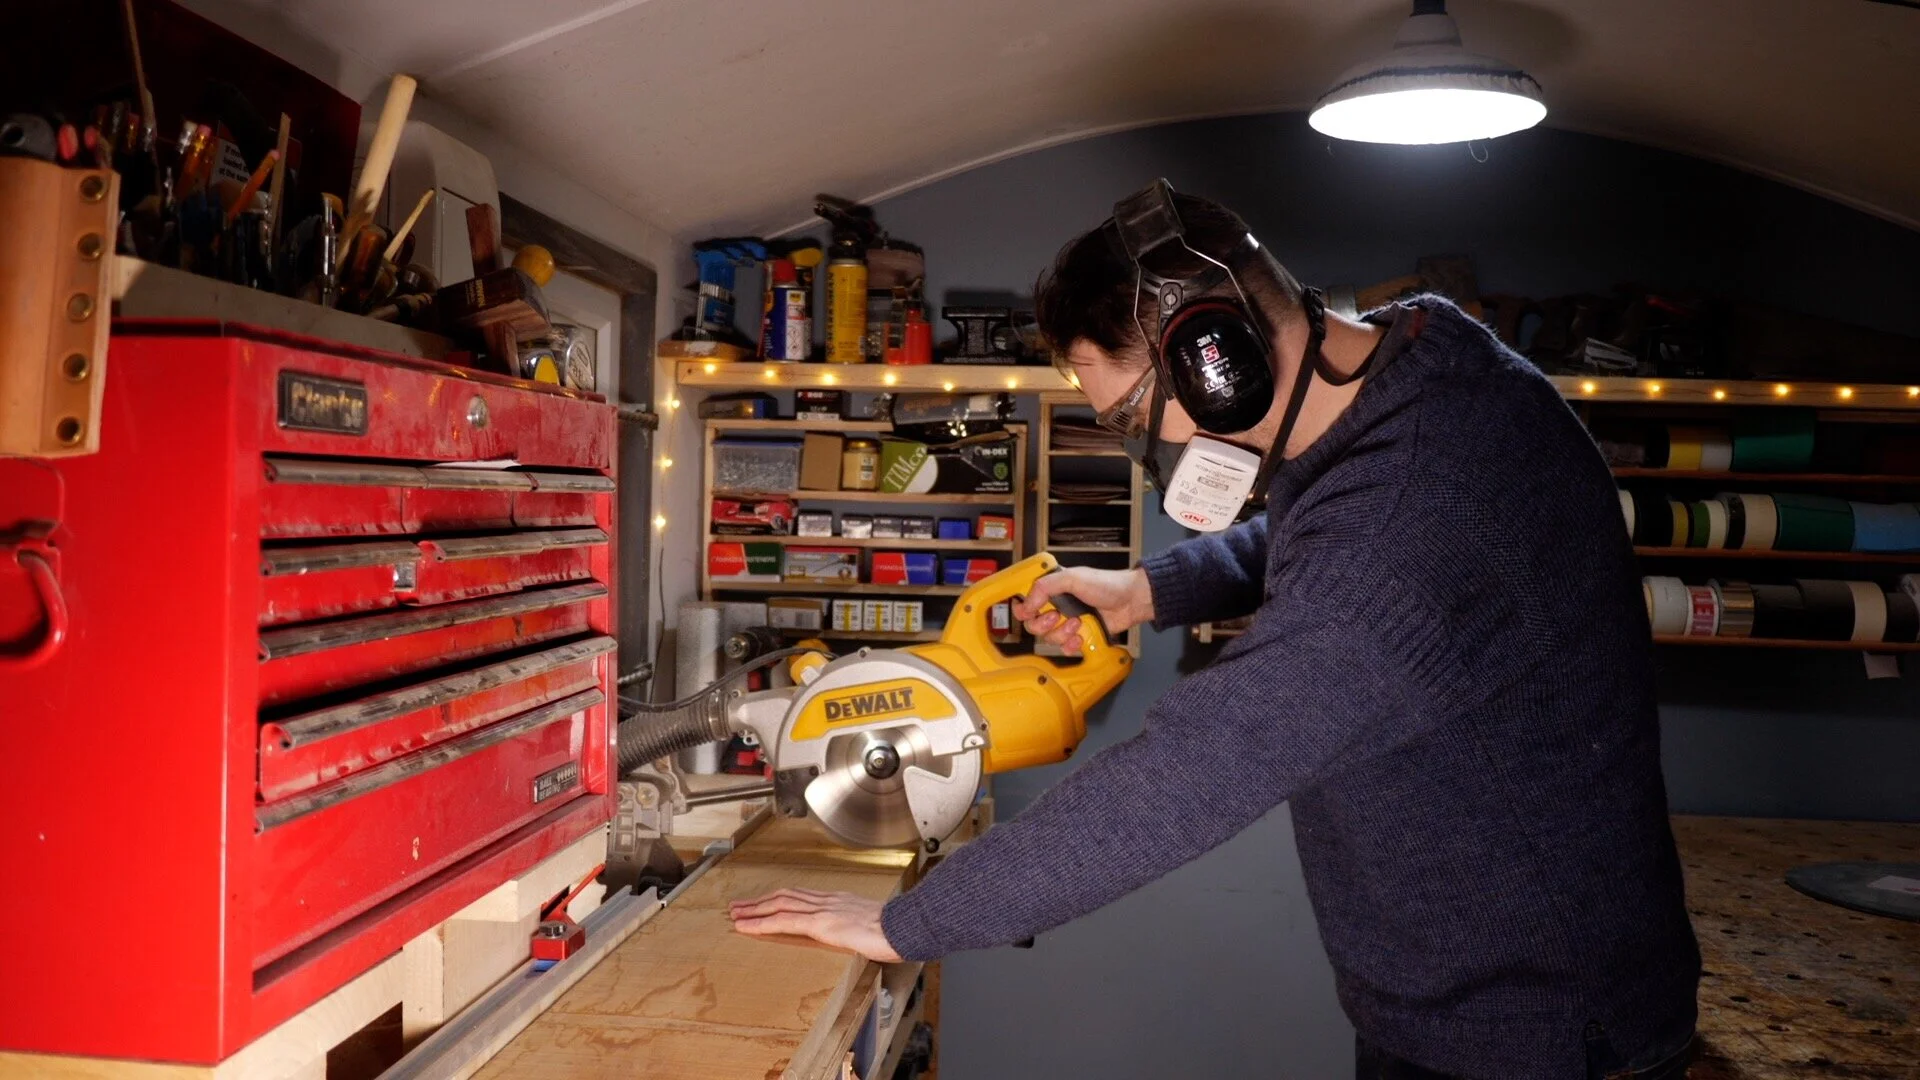
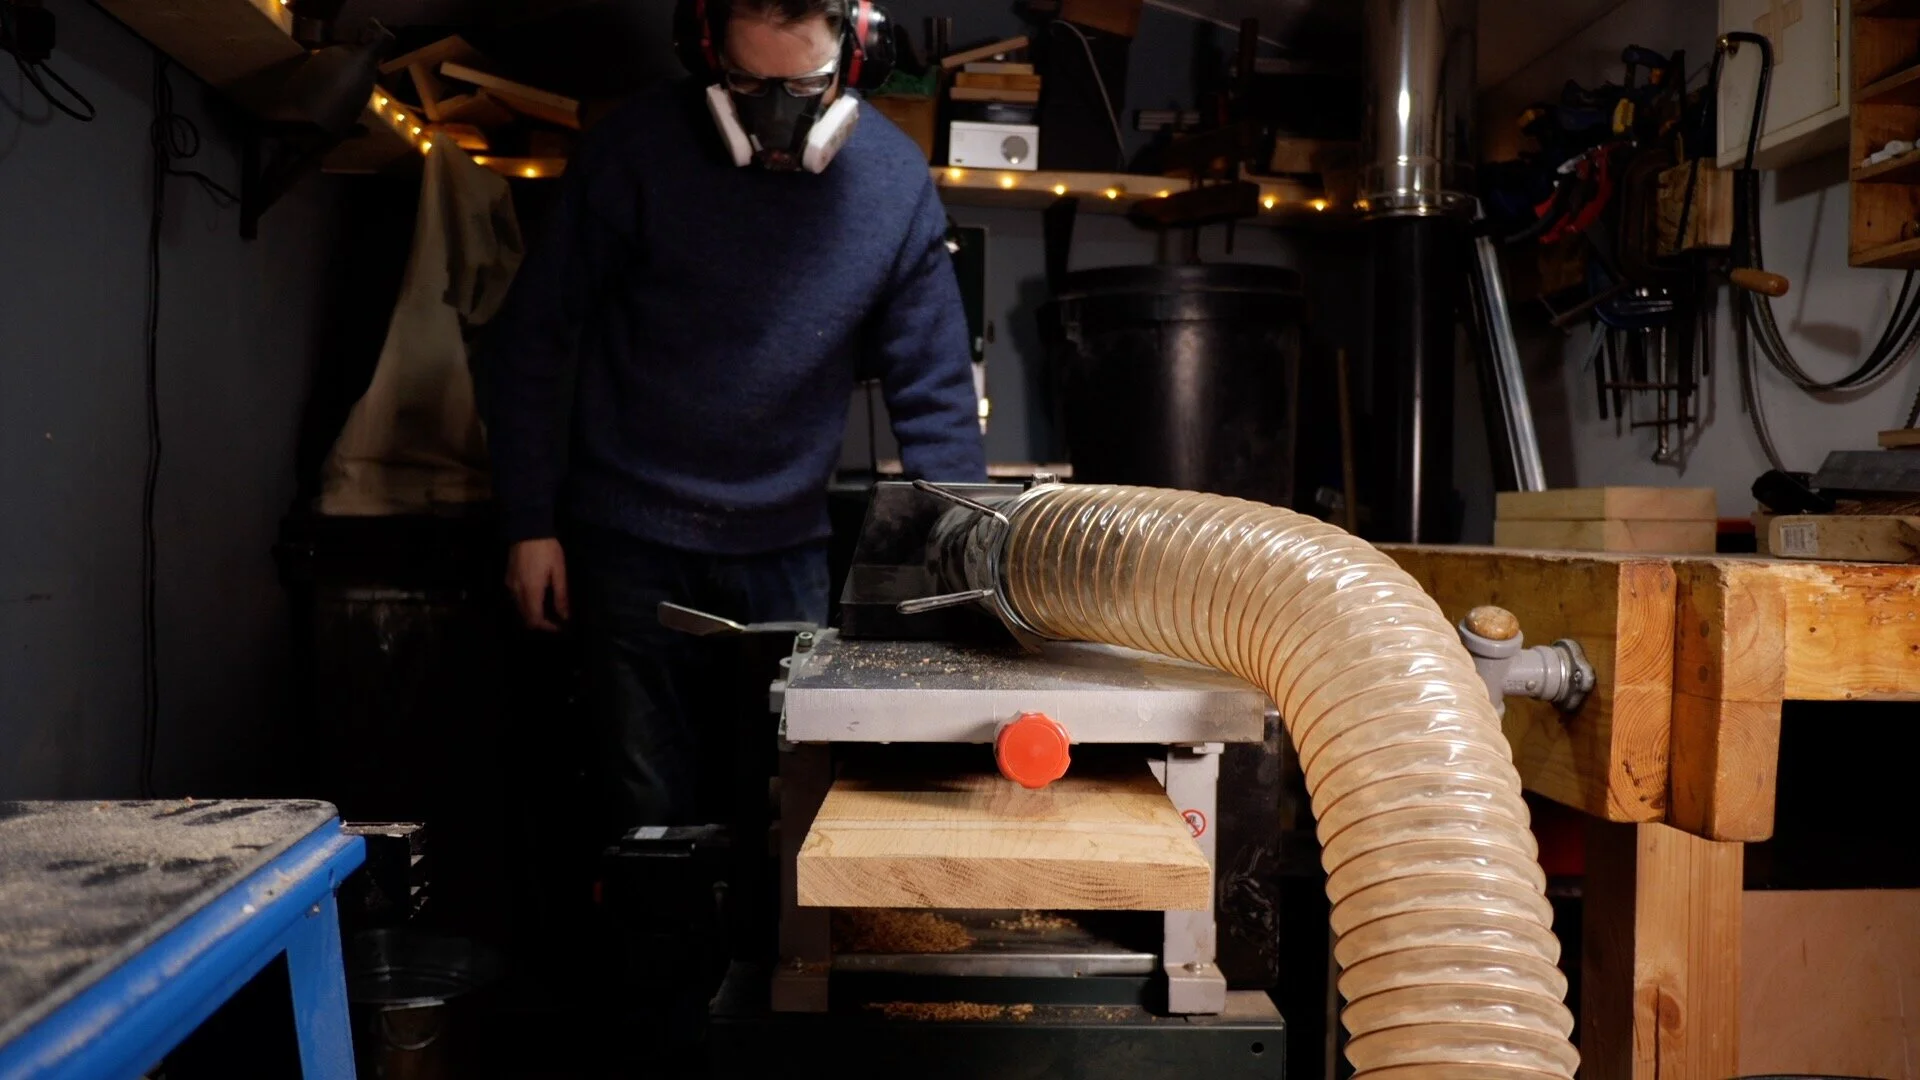
I cut the oak down to length on the mitre saw. As this was rough sawn oak, I cleaned up one face and edge using the planer, then ran it through the machine to clean up the parallel face. (These stages could be skipped if I’d bought some planed-all-round timber to start with, but rough sawn is much cheaper and I am very mean.)
I determined how high I wanted the frame to be and decided to go for 50mm - I marked this out onto the oak board and ripped a strip down on the tablesaw. With the cut made, I turned the piece of wood on its side and set the fence to cut off the thinnest strip of wood I could. I then proceeded to rip down a pile of thin strips of oak.
I wanted all the strips to be of equal thickness, so I set up a fence on my spindle sander and ran the strips through it. This resulted in some nice evenly-sanded bits of wood and you can see how flexible they came out.
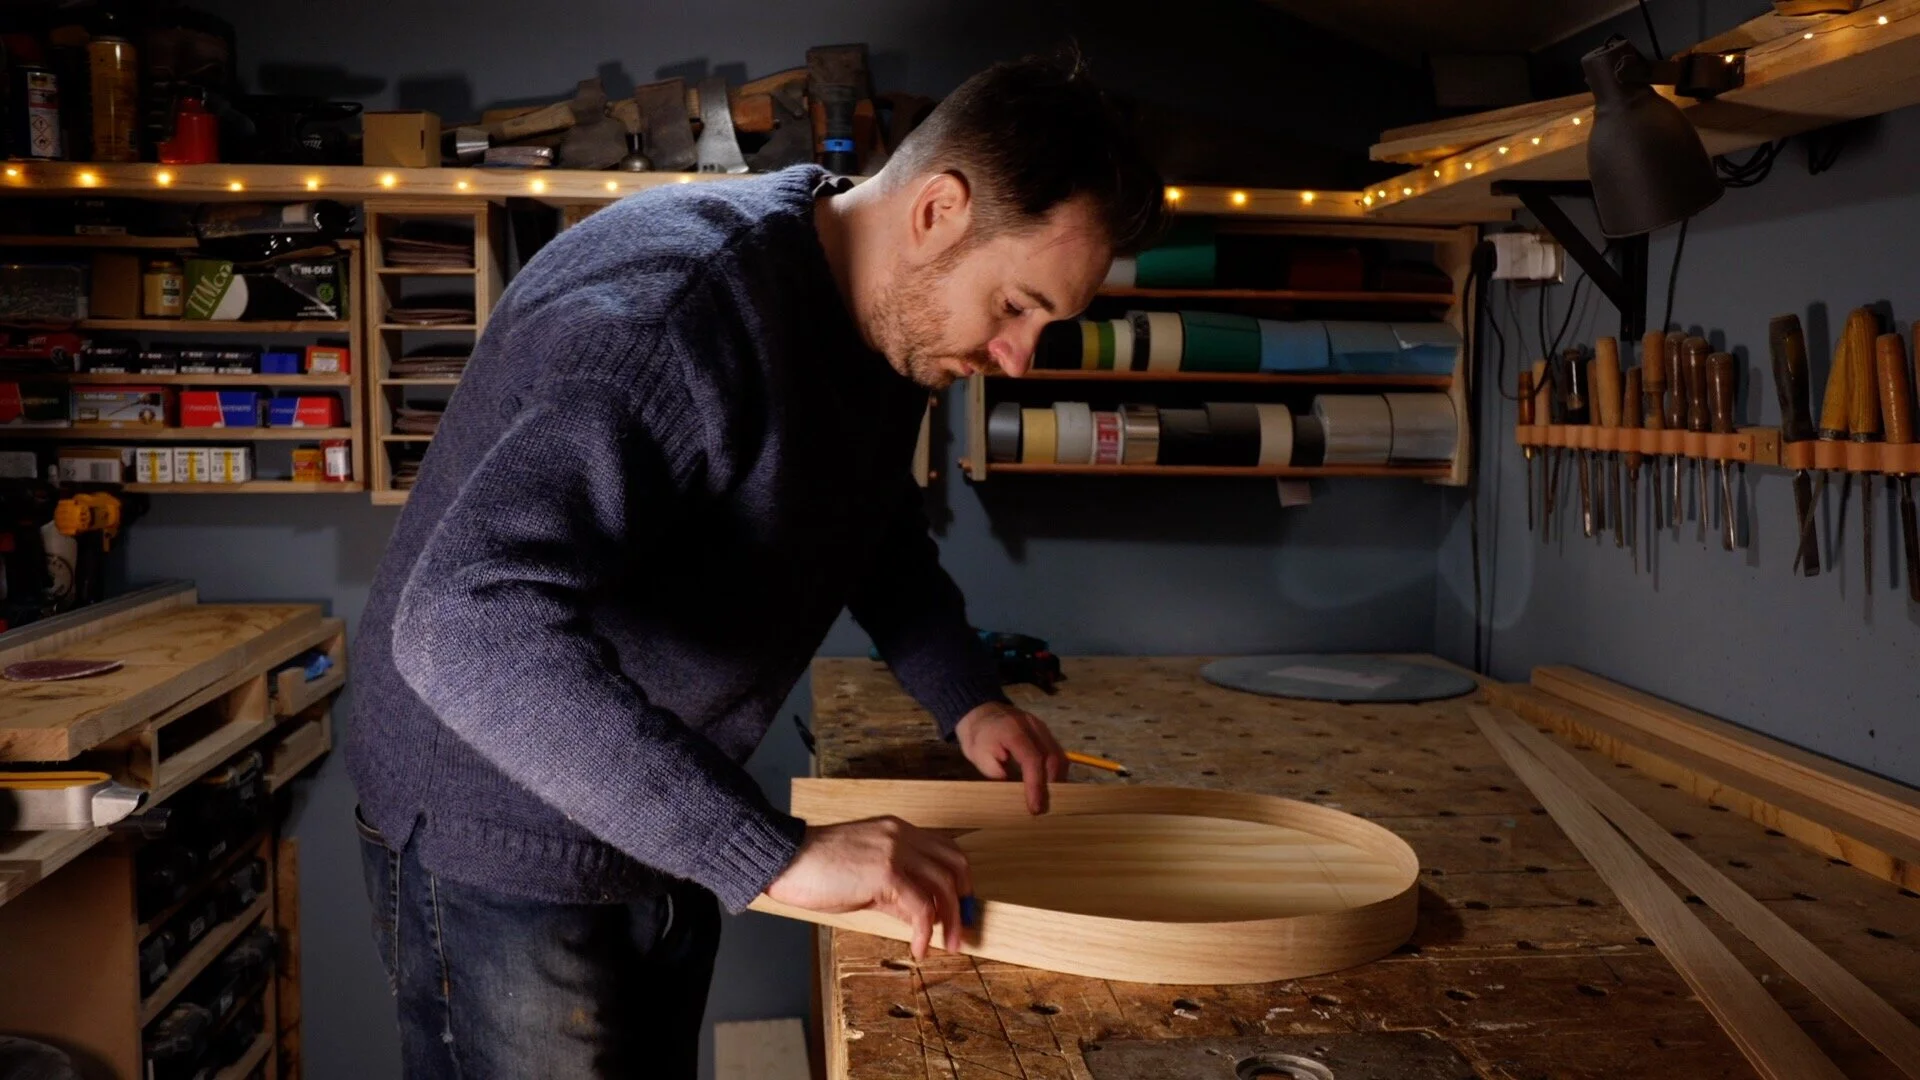
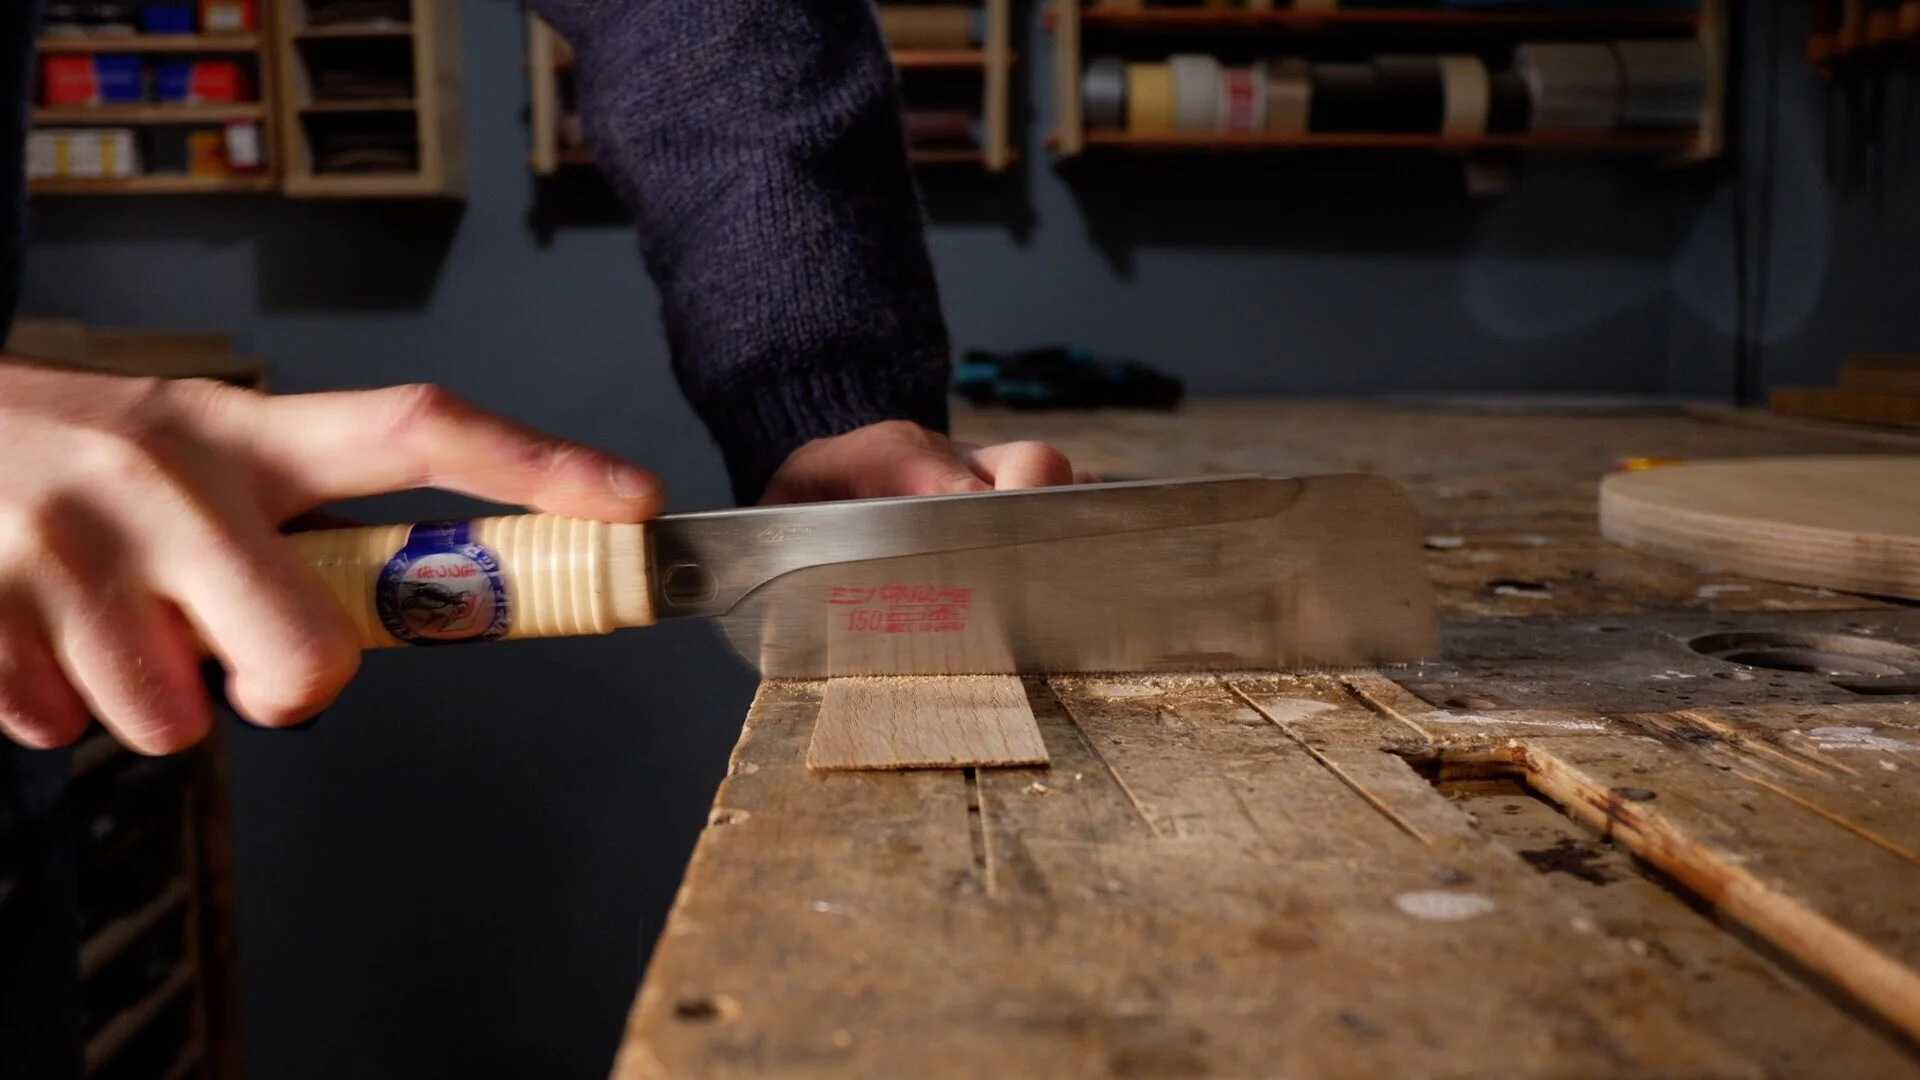
I took one of the sanded strips and bent it round the plywood backing piece, letting the ends overlap. I marked where the pieced overlapped (with a pencil) then used a hand saw to trim the pieces down to that length. I needed to repeat this process for each strip of oak I installed as each piece needed to be slightly longer than the last.
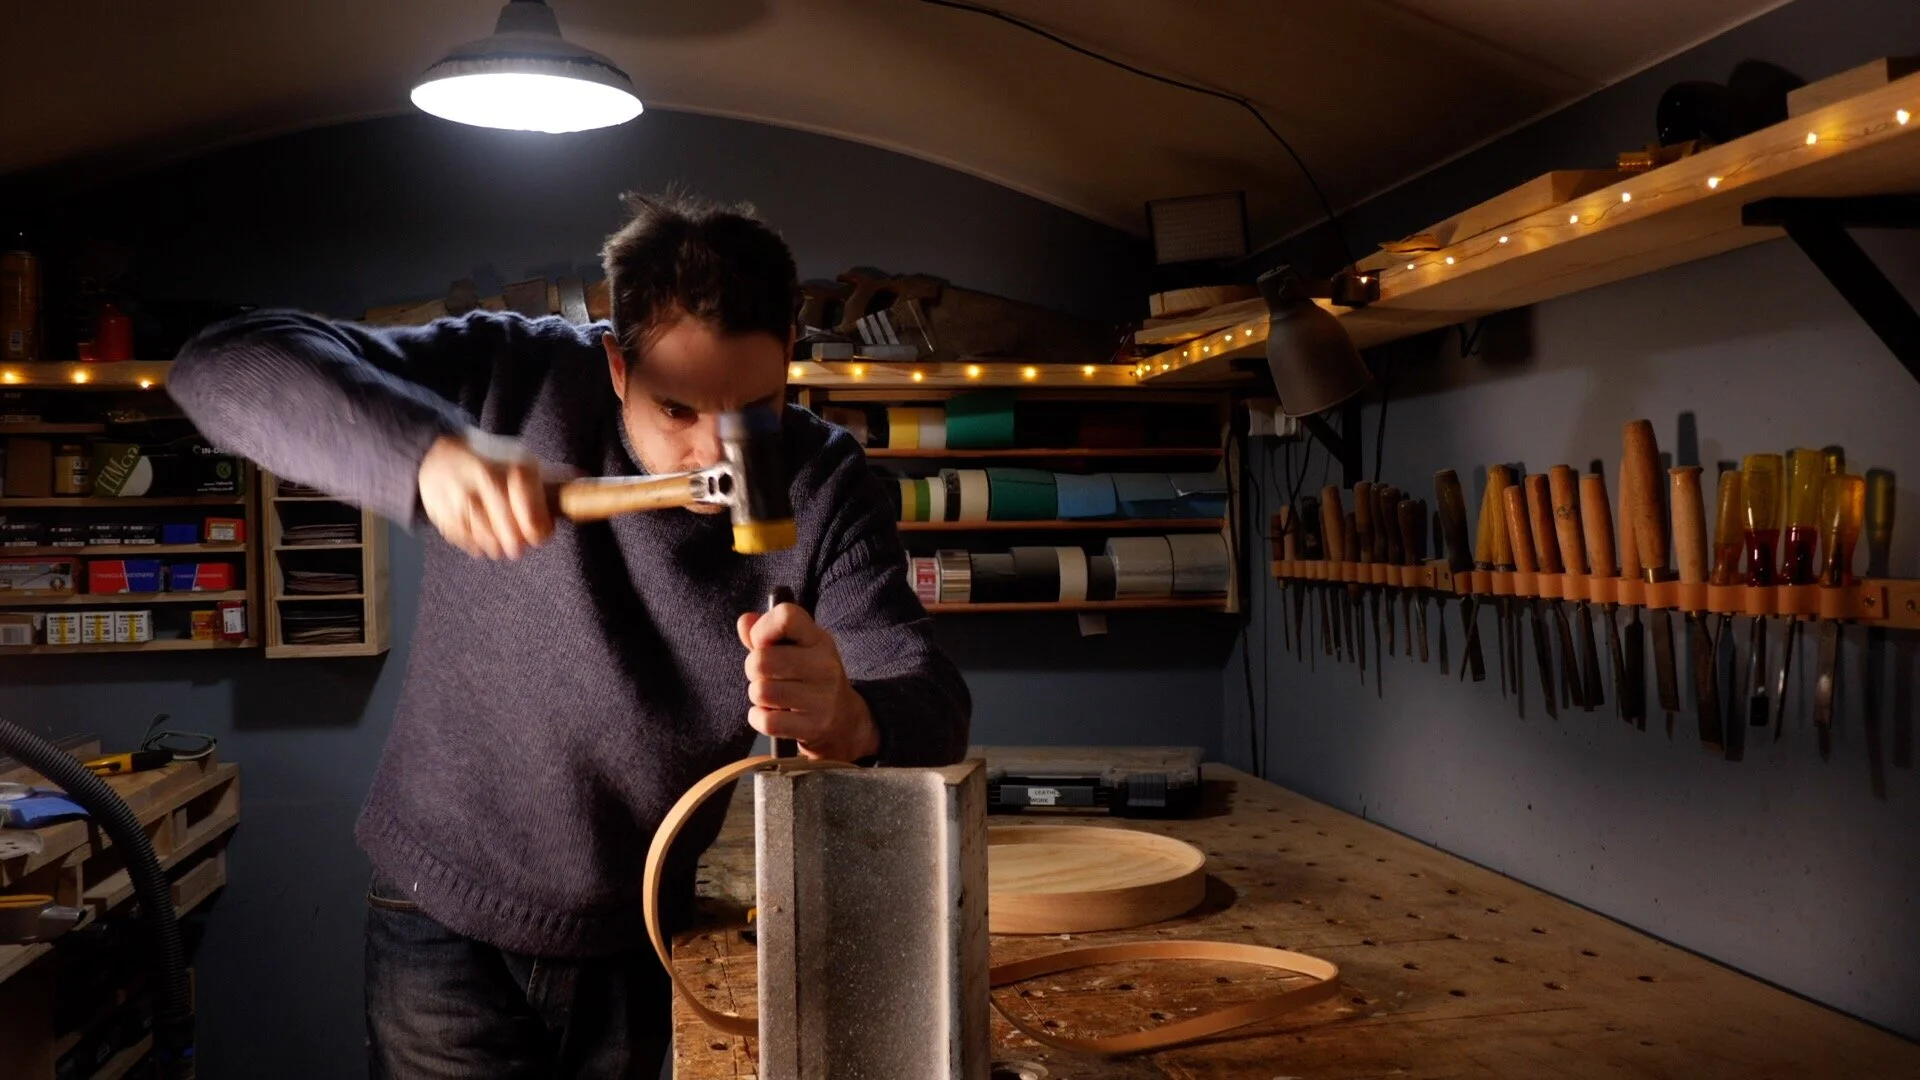
It was then time to get the oak attached the plywood, so I started by applying some glue around the outside of the plywood backing board. The first strip could then be bent round and held in place. Now, if you watch the video at the bottom of this article you'll see all the methods I tried to attach the strips, but in the end I found a ratchet strap was by far the best method. When the first strip was in place and the glue had dried, I could then repeat the process, cutting strips length and glueing them in position.
When I had built up four layers of oak, I was happy with how the thickness of the frame was looking. I tried to pull everything as tight together with the clamps as I could, but there were still some small gaps between the layers - I filled these with some oak-coloured wood filler. When the filler had dried, I gave the frame a sand down.
I got a leather strap from Ebay (these are readily available, for making belts). The length I ordered seemed perfect, so I just had to join the two ends together. I punched a hole in either end of the strap and joined them together using a copper rivet.
I needed something to hang this leather strap off, and thought a bit of oak dowel would look nice. I cut down a piece to the length I needed and marked out the centre point of it on one end. I drilled a pilot hole in the centre, then installed a dowel screw. A dowel screw has a point on each end and threads going from each end to the centre in different directions, which would allow me to screw it into the wall later on.
I applied some Danish oil finish to both bits of oak (but NOT the plywood). The finish really brings out the lovely warm colour in the oak.
To install the mirror into the frame, I purchased some specialist mirror-fixing adhesive that won’t damage the mirror’s backing. I applied the adhesive to the back of the mirror then I placed it in the frame, gently pushing it into place.
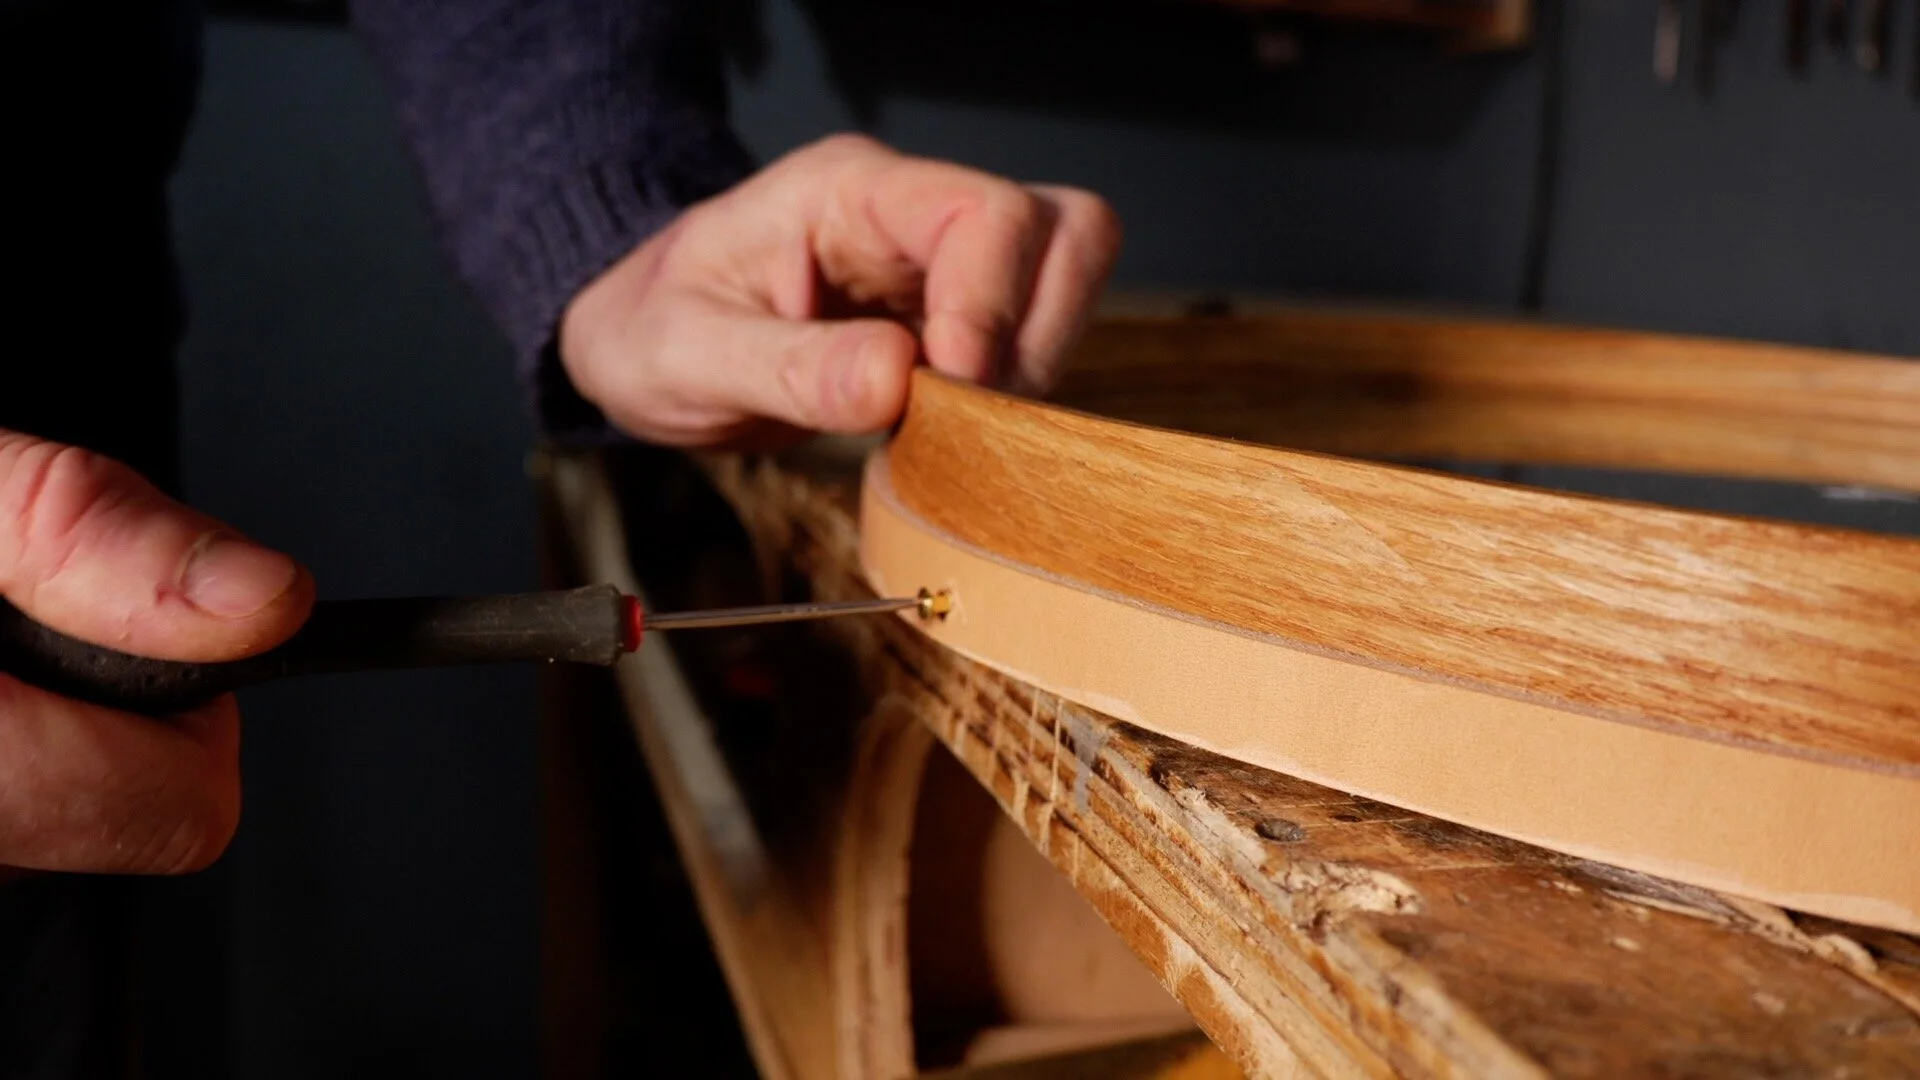
To secure the leather strap to the frame, I screwed in a brass screw on either side and on the bottom.
Then the mirror could be put into place in its new home! I drilled a hole in the wall, installed a plastic fixing, and screwed in the dowel. The mirror could then be hung up.
That’s it all done. I feel it makes the room look finished. For more information, please watch the video below and subscribe to my Youtube channel for a new project each week.


